As an Amazon Associate I earn from qualifying purchases

Thursday, September 16, 2021

Imperial Russian Putilov M1902 76mm quick firing Gun

The 76.2 mm divisional gun model 1902 was a Russian light field gun used in my fictional Anglo-Russian War, the Russo-Japanese War, World War I, Russian Civil War,  and a number of interwar armed conflicts with participants from the former Russian Empire. Modernized versions of this gun were employed at the early stage of World War II. It's direct predecessor, the M1900 had been developed in 1900 by engineers of the Putilov Plants. Since 1898 the Imperial Russian Army was looking for a new field-gun and Krupp, Shamona and Schneider sent in their designs. The decision was made in favor for the M1900 and it became the first Russian gun with a recoil system and at the same time the first Russian 76.2-millimetre field gun.

A dug-in Russian M1900. Note the officer looking at the camera. (Victor K. Bulla. - Scanned from "The Russo-Japanese War – A Photographic and descriptive review of the great conflict in the Far East", P. F. Collier & Son, New York, 1904, page 120)


The M1900 and M1902 saw thier first actions in the Russo-Japanese War and both were superior to its Japanese counterpart, the Type 31 75 mm Field Gun and in particular, the Type 31 75 mm Mountain Gun, in regards of the rate of fire and range. The Japanese knew about this disadvantage and compensated this with numerical superiority. 

My gun comes from Tsuba Miniatures, which is available in the States from Age of Glory Miniatures and in the UK at Empress Miniatures. The gun itself is excellent though it was a challenge to me to figure out where all the parts went. I think it comes with some parts for a variant gun shield and supports for limbering as I was left with a smaller gun shield and what appears to be supports for the gun when limbered. By using photos of actual guns, I was able to figure out how I wanted mine to look like. It can be easily converted to the M1900 by removing the gun shield.

Dang it! Now that I'm looking at a large version of the M1902 photo I used, I now know where the smaller gun shield was suppose to go. Oh well.

I love the figures; they ooze with character and realistic poses. The pack comes with five (5) miniatures: One officer and 4 crewman. The Men Who Would be Kings uses 4 crew per gun; but what the heck, I'm going to have all five out there.

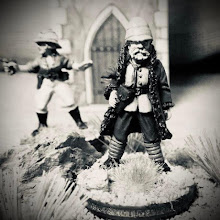
Needless to say, this is my artillery officer. He wears the Russian officers' summer field dress; a high collared, double breasted tunic with stiff cloth shoulder boards (pogoni) to display rank. On field service officers often adopted the same gimnasterka shirt tunic as their men (but of higher quality) and like the men, were usually died khaki. But not this guy! Like other Russian officers, he has decided to leave it white because he is not afraid of rifled, bolt action, magazine fed modern infantry arms!


This figure screamed NCO to me. This is a corporal as indicated by the two bars on his pogoni. He and the rest of the men wear the gimnasterka shirt tunic and being sensible, he and the men dyed their shirt tunics and hat covers khaki. The gimnasterka was looser than the winter uniform and perfect for the summer heat. He also wears the peak less forage cap known as a furashka. Eventually by 1904 the overwhelming majority would be peaked.

I don't know what the position was called in the Imperial Russian Army but here is my loader.


In 1881 Tsar Alexander III simplified the Russian uniform which promoted a concious process of "Russiafication" to distance his army from Western European armies. Each figure in the set (including the officer) carries the traditional shashka sword which was reintroduced as part of the 1881 reforms. There were various versions and the Field Artillery adopted the Dragoon pattern sword.

Here are the other two crewman which are attached to the seats on the 76mm gun. The crewman with one stripe is a lance corporal.


All in all a remarkable set which will fit in nicely with the rest of my Imperial Russian Army.

Wednesday, September 15, 2021

1000 Posts!

 1000 posts? How did that happen?

"Geez, this guy needs a life Charlie."
"Quite so Sam, quite so."

Monday, September 13, 2021

September Auctions: AWI Highlanders and British Celtic Command Group

 Yep, it's that time again:

I was going to do the Southern Campaign for the AWI, but I promised myself I would finish the French and Indian War figures first. Oh well, maybe I'll start it next year. Up first are some AWI Highlanders from Perry Miniatures:


AWI Highlander Auction.

I found these Wargames Foundry British Celtic Command lying around as I was reorganizing my hobby room. A pleasure to paint and indicative of the quality of Wargames Foundry.


British Celtic Command Group.

Good luck and Good bidding!

Friday, September 10, 2021

The 71st Regiment of Foot (Fraser's Highlanders) in the American War for Independence

After the outbreak of the American War of Independence in 1775, Simon Fraser, Master of Lovat, was authorized to raise the 71st (Highland) Regiment of Foot. With companies mustered in Inverness and Stirling, two battalions were formed and in April 1776 the 71st Highlanders, known informally as ‘Fraser’s Highlanders’, sailed from Glasgow as part of the reinforcement of British forces in America. Elements of both battalions, totaling about 400 men, were captured by rebel naval forces in actions both on the high seas and in Boston Harbor. However, most of the regiment arrived safely off New York in August 1776 and the remaining companies were brigaded into three provisional battalions for the campaigns 1776 and 1777.

After the capture of Philadelphia, the 71st, having been reduced by sickness, was sent back to New York where the Regiment was joined by replacements from Scotland and resumed its original two-battalion structure. In 1778, further companies were raised in Scotland and later that year, the 71st was sent south to campaign in Georgia and the Carolinas. Although both battalions were again considerably reduced by sickness, a skeleton battalion structure was maintained. The 1st Battalion was effectively destroyed at Cowpens in January 1781 with many men being taken prisoner. The Regiment was formed onto a single battalion which went into captivity after Cornwallis’ surrender at Yorktown in October 1781.

The 71st Regiment of Foot or ‘Fraser’s Highlanders’ served in both the Northern and Southern Campaigns, participating in these major battles: Brooklyn (1776), Brandywine (1777), Savannah (1778), Briar Creek (1779), Siege of Savannah (1779), Siege of Charleston (1780), Camden (1780), Cowpens (1781), Guilford Courthouse (1781), and Yorktown (1781).

In April 1782 the remaining battalions of the 71st Regiment were re-formed into two distinct Regiments, the 71st and the Second 71st. The first of these two new units consisted of the remaining men of the original regiment, who had not been killed in action or captured, and numbered only 189 when it set sail from Charleston with the evacuation of all British forces in December 1782. The 2nd 71st was disbanded in 1783 and the 71st Regiment was disbanded in 1786.

One of the longer projects I did; not because the figures were hard to paint but because I kept putting them aside to paint other units. The figures are from the excellent Perry Miniatures American War of Independence metal range and were mounted for Rebels and Patriots though they can be easily used for Muskets and Tomahawks, Sharp Practice and other popular rule sets.

Tuesday, September 7, 2021

More Inexpensive Rocky Terrain


As a gamer on a budget (who isn't?) I like to save money with my hobby whenever I can. This year I have really been focusing on making terrain for my tabletop as my two new periods are the British Raj and the French and Indian War. Coincidentally, the rules I am using are both from the talented Dan Mersey, The Men Who Would be Kings, and Rebels and Patriots from Osprey Games. Since both rulesets are "large" skirmish games, terrain plays and important part. In addition, one of the major of appeals for me in miniature wargaming is the aesthetics of the table top. So lets make some more rocky terrain to break up formations and to hide behind for excellent cover.


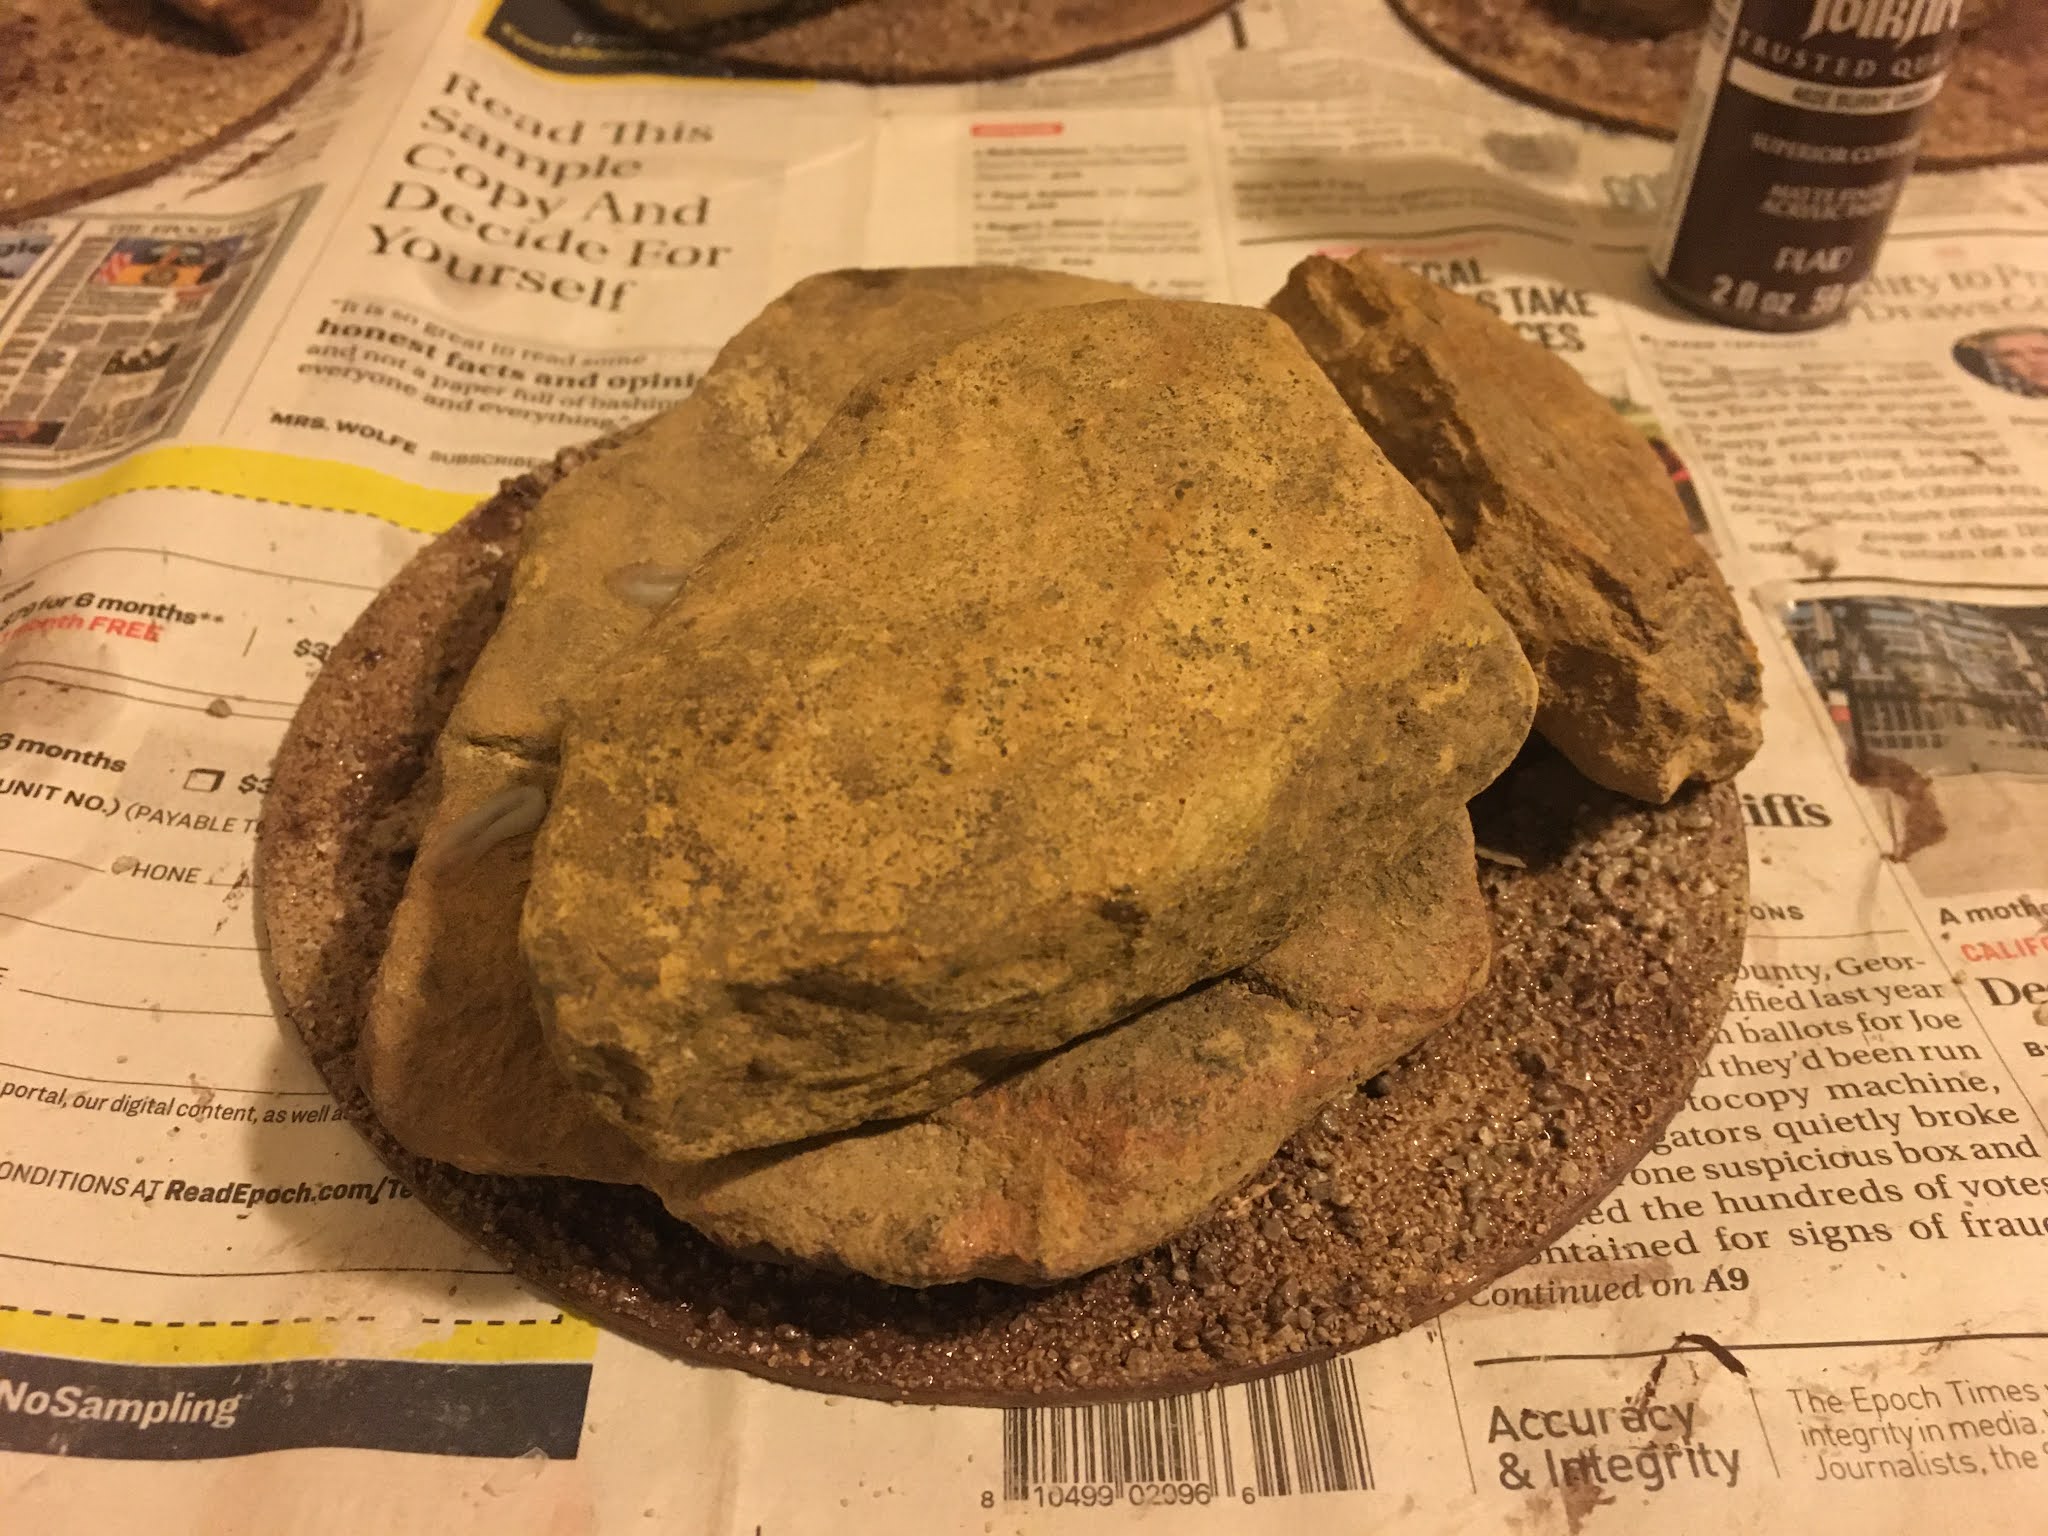
First step for me is to find some real rocks! One of my past times (and how I get my exercise) is walking in the woods of the Southern United States. When I was working this project, over a period of days, I found some interesting rocks to use. I know what some of you are thinking: "Aren't that heavy and require storage space?" Well, they are really not that heavy, and now that my children are grown, I have plenty of storage space.


Hobby Lobby is a store in the United States and for US $5.99 I bought a pack of six, 6 inch diameter round craft plywood pieces. I use gobs of white glue to glue the rocks to the wood; but, before I do, I position the rocks with figures to make sure that are positioned correctly to use on the tabletop battlefield. Pictured above is a 28mm figure from Perry Miniatures mounted on a 25mm mdf stand from Litko Game Accessories.


The rocks are glued in place and left to dry overnight. You may notice that four of the bases have painted brown borders and two of them don't. Yep, I started applying glue and rocks and suddenly realized that I forgotten to paint the edges after I did two. I highly recommend painting the edges first! It can be challenging (yes it can) painting them with the rocks already on the bases. The base edges were painted with inexpensive (US $2.99) Burnt Umber craft paint.


I use Railroad hobby ballast for my basing needs as it is less expensive than buying hobby sand that is marketed for miniature gaming. I use gobs of glue and water it down to affix the sand. Since these bases are considerably larger than my figure stands, I used a large plastic container to put the sand in so I could easily dip the bases into the sand. Don't worry if you miss a few spots - that can easily be filled in with static grass. Make sure the sand is fully dry before moving onto the next step.


Once the sand is fully dry, pour some more white glue over the sand and use and old brush to water it down and spread it out evenly over the sand. When dry, it acts as a sealant and gives extra protection to your sand to it won't fall off.

Save those old, worn out brushes for jobs like this.


Remember that Burnt Umber craft paint. Once the coating of watered down glue is dry, I water down the Burnt Umber and spread it over the sand to let it seep in. I've gotten lazy highlighting my terrain and this is a quick, and I think looks good, alternative.


After the paint dries, I randomly put some white glue on the bases and water it down with that same old brush. Then I add some static grass and let it dry.


I added static grass on this rock as there was some white glue that spilled on the rock, dried and was noticeable. The stain around the grass is just watered down glue drying.


Ta Dah! All done. I'm am by no means a modeling expert and I find this technique quick and easy to do. I failed to mention that I used photographic references of the areas I'm gaming to help me with the positioning and modeling of the terrain.


As you can see, the rocky terrain works for a multiple of genres. One last look at some of the rocky terrain I have built this year.