

Nothing fancy for us. Just line 'em up and point them in the right direction. We are professionals after all!
We decided on just a simple, minimal terrain scenario with enemy destruction the criteria for victory. Honorable Son #2 (The Captain) commanded the forces of Parliament (in rebellion against the rightful king, me) consisting of 3 Infantry Brigades of 2 Foot regiments each and a cavalry brigade with a regiment of galloping horse (led by Cromwell) and a regiment of cuirassiers (trotters). The Royalist also had 3 Infantry Brigades of 2 Foot regiments each, a Cavalry Brigade of 1 Horse regiment (gallopers) and one heavy artillery battery. All units were rated as Trained except the Irish foot which was rated as Veteran.

Honorable Son #2 (The Captain) drinking his coffee prior to battle.

Here is the initial set-up for both forces. At first I was going to position one of my infantry brigades to take advantage of the hedges at the top of the table. Yep . . . I should have done that.

The forces of Parliament.

The (cramped) forces of King Charles I.

Prince Rupert leads his cavalry forward on the left flank of the Royalists while the infantry slowly advances. I kept my best troops, the Irish, in reserve.


This is the brigade I should have had behind the hedges.

Lord Saye and Sale's regiment advances confidently for King and Parliament.

Victory Without Quarter is a card driven game that keeps all players actively engaged. Between it's unit card, brigade commander card and army commander card I think Lord Brooke's Regiment was the most active unit on the field.

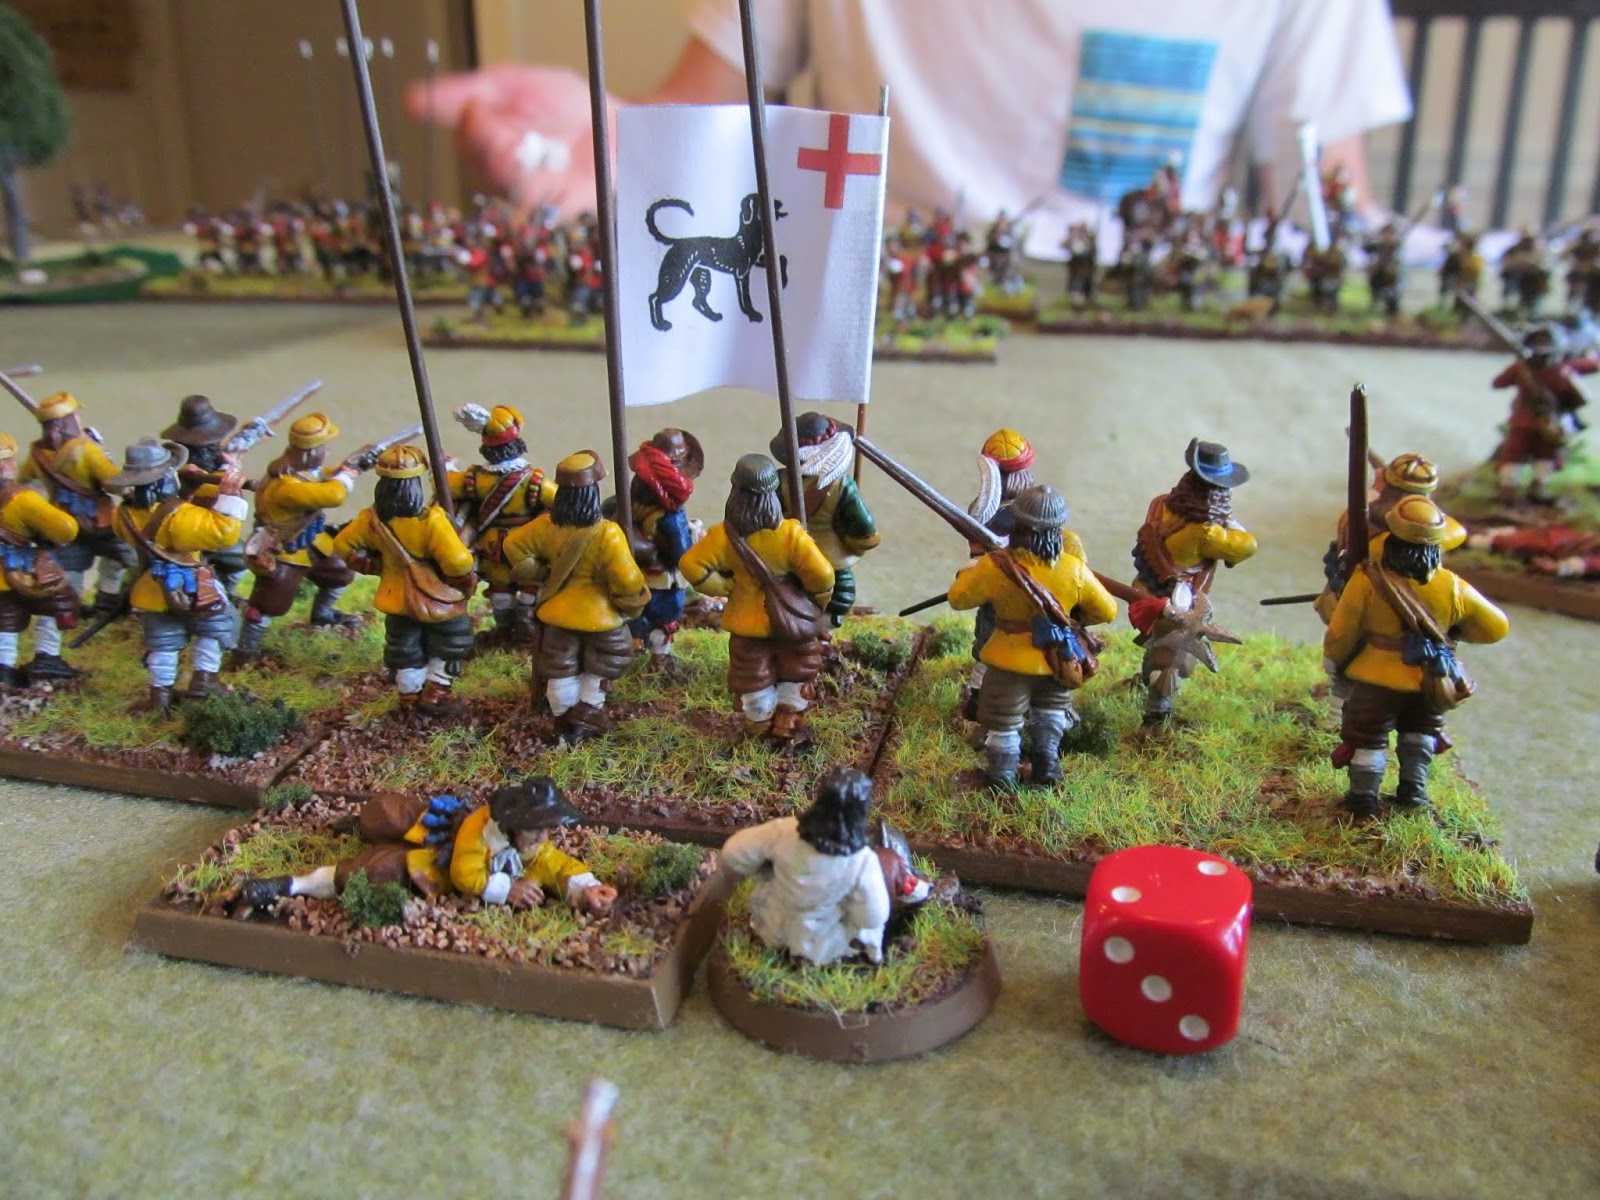
Talbot's (The War Poodle's Own) Regiment moves out.

Sample cards we use. For units we just use the flag, brigade commanders and army commanders (except for the King who has the Royal Flag) are pictures of the figures, reload are figures reloading and Turn Over is Turn Over!

Honorable Son #2 (The Captain) just exclaimed, "I should have put my cavalry on the right flank."

Essex's Regiment moves up in support of Lord Saye and Sele's Regiment. Behind is Sir John Gell's Regiment who had Hold orders the entire game and never moved.


Talbot's (The War Poddle's Own) and Newcastle's Whitecoats form an impressive line.

Meanwhile, the representatives from the King's Oxford Army just can't seem to get moving.

Rupert (of course) continues to advance.

Huzzah! We moved!

Honorable Son #2 (The Captain) strengthens his right flank in anticipation of Rupert's cavalry heading that way.

The weighted right flank of the Earl of Essex's army.


Newcastle's Whitecoat's are hit first. Three hits = a casualty marker. When a unit has the same amount of casualty markers as stands, it is eliminated. We use die to keep track of hits during the turn. At the end of the turn, the hits, but not the casualty marker, go away.

An overhead shot showing the well deployed Parliamentarian forces and the haphazard advance of the Royalists.

"Enough of this nonsense" declares Rupert, "prepare to charge for we have a War Poodle!"

The infantry are not nervous at all.

Meanwhile the Roundheads skirt the hedges and start to make the Royalist right flank very nervous.


A nice view of Parliament's forces.

The Royalists move up to support Newcastle who is out in front all my his lonesome . . . and taking some hits.


Going . . .

. . . going . . .

. . .gone!

Now that there is an open field of fire, let's make some smoke and noise and actually hit a large body of troops standing still and cause them to take a morale check which forces them to be shaken!

Lord Saye and Sele's Regiment is shaken by the artillery fire and Rupert charges home. The infantry break and are pursued and cut down. Long live the King!

My second worst decision of the game (the first was the hedges) I decide not to continue to charge, turn around and get blasted to smithereens by the Green Regiment of the London Trained bands.


Prince Rupert and the War Poodle are captured.

The battle rapidly becomes a fire fight at medium range.


The King's Lifeguard is shaken and taking casualties. Contributing to the outcome was an event card that gave the Earl of Essex 2 orders instead of one and the Lifeguard was hammered by musket fire.

Summon the Irish!

In a last desperate attempt to do something to salvage my reputation I commit the Irish to the fight.


. . . and the Irish also get hammered by the line of muskets that Honorable Son #2 (The Captain) has deployed.

Oh and did I mention that the King's Lifeguard was destroyed? The Brigade commander was attached and killed.

The Irish do get off a good volley which hurts the Parliamentarian line. Note the reload marker that was placed after the volley.

Dang. Looks like an engagement area to me.

Time to finish this.

The enemy horse charges, the Irish try to form a pike stand and fail. They are now shaken and -

- are put to the sword. The King realizes that he only has 2 Foot Regiments left and surrenders the field of battle.
What did I do wrong: I did not take advantage of the terrain. Throughout the game I was mentally kicking myself for not deploying a brigade of foot behind the hedges to threaten the Parliamentarian left flank. In addition, I should have let Rupert charge the other foot regiment - who knows what might have happened? Most of all, I kept reacting to Honorable Son #2's (The Captain) moves and was never able to make him react to my moves. As I lost units and commanders (2 captured and 1 killed) their cards were removed which nicely simulated the momentum of Parliament. Once he had that solid line of shot established, it was all over. We shook hands and a "Bravo" well done was exchanged. Now lets drink some beer and eat some barbecue!
