As an Amazon Associate I earn from qualifying purchases

Wednesday, May 27, 2015

Thomason Tracts

I found a great illustration for an English cleric of the 1640's published in an anonymous pamphlet preserved in the Thomason Tracts. George Thomason, an important London bookseller and the friend of John Milton (1608-1674) was extremely well placed to build up a systematic collection of pamphlets and other works as they were published. Thanks to his efforts, over 7,000 contemporary works, relating in the main to the most burning religious controversies and political conflicts of the day, have survived nowhere else.


 Cleric from Warlord Games "Fire and Brimstone" pack.

Not a pretty sight . . .

Wednesday, May 20, 2015

The War Poodle's Regiment of Foot - Complete!

After a serious dressing down by the Colonel of the Regiment, Boye the War Poodle, I finally ordered some Gale Force 9 static grass to replenish my supply. Finally, after sitting in the depot for over 2 months, Talbot's Regiment is now complete and fully mustered! Time to join the King's Oxford Army.

The officer with the clay pipe is from Wargames Foundry that I picked up on eBay.

Close up of the command group. Ensign is a converted hard plastic pikeman from Warlord Games and the drummer is from one of Warlord Games' metal command packs.

Talbot's Regiment was originally recruited in Ireland and was further reinforced with English troops once they arrived to join the King's Oxford army.  As part of their refitting, I decided to give as many of the Warlord Games hard plastic troops Montero caps which were not only popular, but were issued to many regiments in Oxford.

 Contemporary Illustration of a drummer in Montero Cap.

A musketeer with Montero from The Military Discipline wherein is Martially Showne the Order for Drilling the Musket and Pike, published by Thomas Jenner, London 1642.

The Regiment passes in review in front of Colonel Boye the War Poodle.

The Colonel of the Regiment, with mounted escort, takes the lead at the front of his regiment.  Like other Colonel's of his day, Boye would not personally lead them in combat as he has higher command functions in the King's army.

Another view from across the river. The musketeer to the left playing the fife is a conversion illustrating one of the advantages of hard plastic miniatures.


Friday, May 15, 2015

Dux Bellorum Battle Report Part 2

When we last left events were not going well for the Late Romans as their cavalry had been hurt badly to include the Mounted Companions (spoiler alert - it's not good if your general dies!).  The Roman Infantry (Ordinary Shieldwall) were slowly being pushed back by the Saxon Sea dogs.  One bright note was that the Roman skirmishers who pulled one of the Warrior bands from the attack and destroyed them with javelins and arrows.


 Late Roman infantry desperately trying to hold the hill. For almost the rest of the game I allocated numerous LP's to cancel hits and keep them alive!

The Roman commander and his Mounted Companions - bust unit in the army but it has taken some casualties. The the left are the Noble Riders.

The Roman leader leads another charge with the other cavalry in an attempt to relieve the pressure on the Roman Shieldwall. The Saxon leader is the element with the dragon banner.


The Roman cavalry forces the enemy line back allowing the Roman Cataphracts (upper right hand corner) shoot the gap and hit the Saxons that are attacking the hill in the flank.  The Cataphracts hit hard.

Roman skirmishers with bows moving up. They have better range than javelins but cannot shoot and move at the same time.

A furious, swirling melee all along the battle line. Roman skirmishers trying to out flank the Saxons.

The Mounted Companions take another hit but press home the attack allowing the skirmishers time to get on the flank.

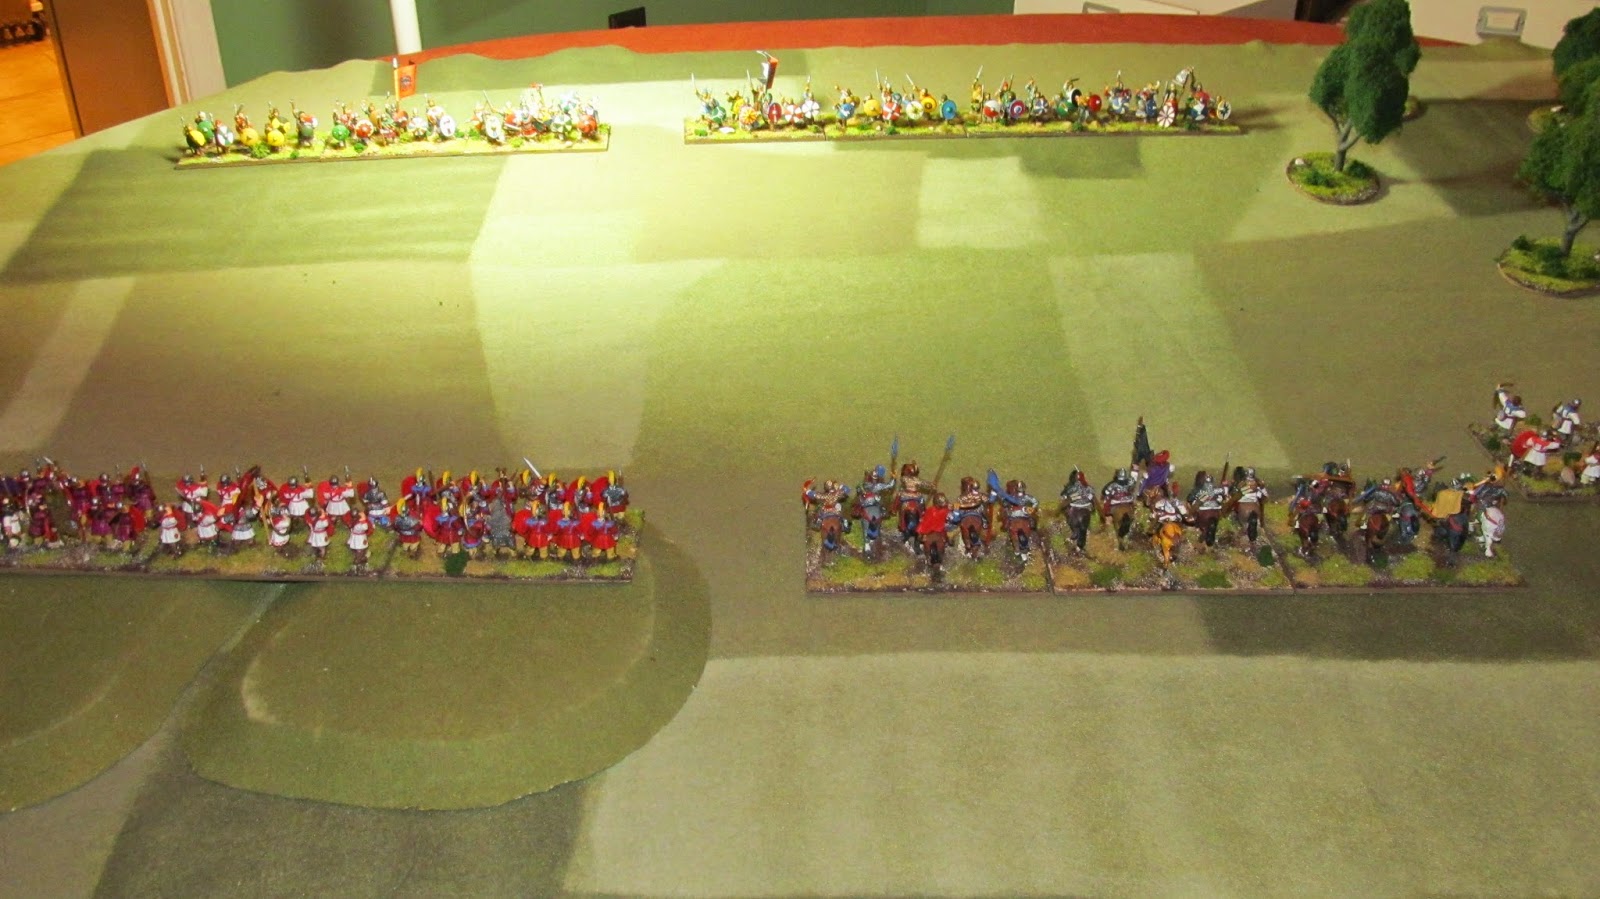
 A Warrior element is destroyed by the Cataphracts and now Roman infantry starts to outflank the barbarian line. Note the 3 LP's added to the Noble Warrior stand that is outflanked in an attempt to cancel out hits.

Amazingly (and with some great die rolls!) the javelins weaken another Warrior unit and they get polished off by a cavalry charge. The Saxon general loses another LP to use as a result.

Saxon flanks start to collapse as a fight to the death starts.


The Loyal Noble Warriors go down fighting true to their oaths.


As the Saxon Warlord holds his ground, his army collapses around him and flees the field of battle.  Note the hits on the Roman cavalry and Mounted Companions.  It was close.

Dux Bellorum is a great game - fast, fun, furious and to me gives the flavor of Dark Age battles in Great Britain. It is published by Osprey games and on Amazon right now a new copy can be purchased for $12.96.  The game was played from start to finish in about 2 1/2 hours. The Saxons will bring some skirmishers next time as the heroes of the fight were the javelin armed Roman skirmishes.  When the initial attacked failed, they drew off one of the Warrior elements and then with the archer armed skirmishers, destroyed.  Later, they helped finish off a weakened Warrior element on their flank which enabled the left of the Saxon line to be outflanked. Fortunately for the Romans, the shield wall held with the use of LP's to cancel hits.

Heroes of the Empire.

Some other pictures from the battle:


Sunday, May 10, 2015

Dux Bellorum Battle Report Part 1

The battle fought is a fictional encounter between a Late Roman Army catching up with Saxon raiders ravaging the province of Britannia.The scenario is the Annals Battle with each side having 32 points and a simple goal: Rout the enemy.

The beauty of Dux Bellorum is the use of Leadership Points (LP's) to allocate each turn.  This allows you the general to be actively involved in the battle - hey, you are a warlord and your men expect you to lead! Each leader can have between 6 to 10 LP’s depending on how many points you spend on them when constructing your army. For this fight, each leader has 6 LP's to spend each turn. LP’s can be used to help units fight and move, but are a precious resource that can dry once losses occur; if you lose a unit you lose an LP. The use of LP's keeps players thinking – always facing the critical decision about where to spend them.  Do I help this unit move? Do I interrupt the enemy's move and charge? Do I declare that the LP's I added to the battle add extra attacks or do I declare that I will use to negate the hits I just took?


The two armies looking from behind the Roman lines.  The Roman infantry (shieldwalls) are on the hill and the cavalry.  The Roman skirmishers are moving to the woods to the right.  The Saxons are in 2 groups with the Noble Warriors intermixed with the Ordinary Warriors.


 The Warriors were tougher than I initially thought - yikes!

 Allocating the LP's.  I just could not get those archers to move!

 Charge!!!


Quick narrative: I tried to smash the Saxon line right from the beginning with a strong cavalry charge with my "Imposing Horsemen."  As a retired Infantry officer I am ashamed to admit that I tried charging cavalry in a frontal attack against unbroken infantry.  

 The situation when I made the fateful decision to charge and before LP's were allocated.

 They don't look so tough from here.

Come on and show us what ya got!


 The die behind the stands are keeping track of the hits.


Both my Companions and my Noble horse took some serious hits as the Saxon Noble Warriors laughed.  I had to buy some time to recover; fortunately my cavalry successfully disengaged.  

I turns out that the heroes of the game for the Late Romans would be the javelin armed skirmishers and the Poor Bloody Infantry of my shieldwall on the hill.  The javelin armed skirmishes successfully drew off one of the Warrior units into the woods.  The javelins could get up close, shoot and then move successfully keeping out of range. By themselves they wore down and eventually destroyed the Warrior unit reducing the Saxons by 1 LP.


 I added an LP to give the javelins and extra attack and whamo - the Saxons take 2 hits with no saves.  Then the javelins fall back to get out of the vengeful charge range of the Saxons!


I had trouble moving my archers (kept failing their bravery roll). As it turned out that worked to my advantage as the javelins fell back, the Saxons pursuing them got outflanked by the archers and destroyed by both stands or skirmishers.

 Oh . . . there's a battle going on?  We've just been standing here for 3 turns.

Come closer  . . . I'll backup . . . closer . . . closer . . . 

 Gotcha!

My mounted skirmishers tried to do the same thing on my left flank to slow down the warriors advancing on my infantry on the hill.  Well . . . that did not work out so well and they were made into mincemeat fairly quickly and now I was down an LP.


With the Roman cavalry reeling and weakened, the Saxons launched a massive attack to break the Roman line.  On the left the Warrior unit is about to be peppered by the skirmishers but the Roman line on the hill starts to fall back . . . 


Next: The conclusion.