Honorable Son #2 and myself had started a Flames of War Encounter scenario in North Africa, which unfortunately we never finished. We have decided to re-fight the battle with the same forces and substituting one of the ridges for a wadi I had built using foam board. This re-fight will be a 1500 point battle using the
North Africa supplement for Flames of War. My forces will be a Schutzen (Rifle) Company and Honorable Son #2 will command the Australian Divisional Cavalry.
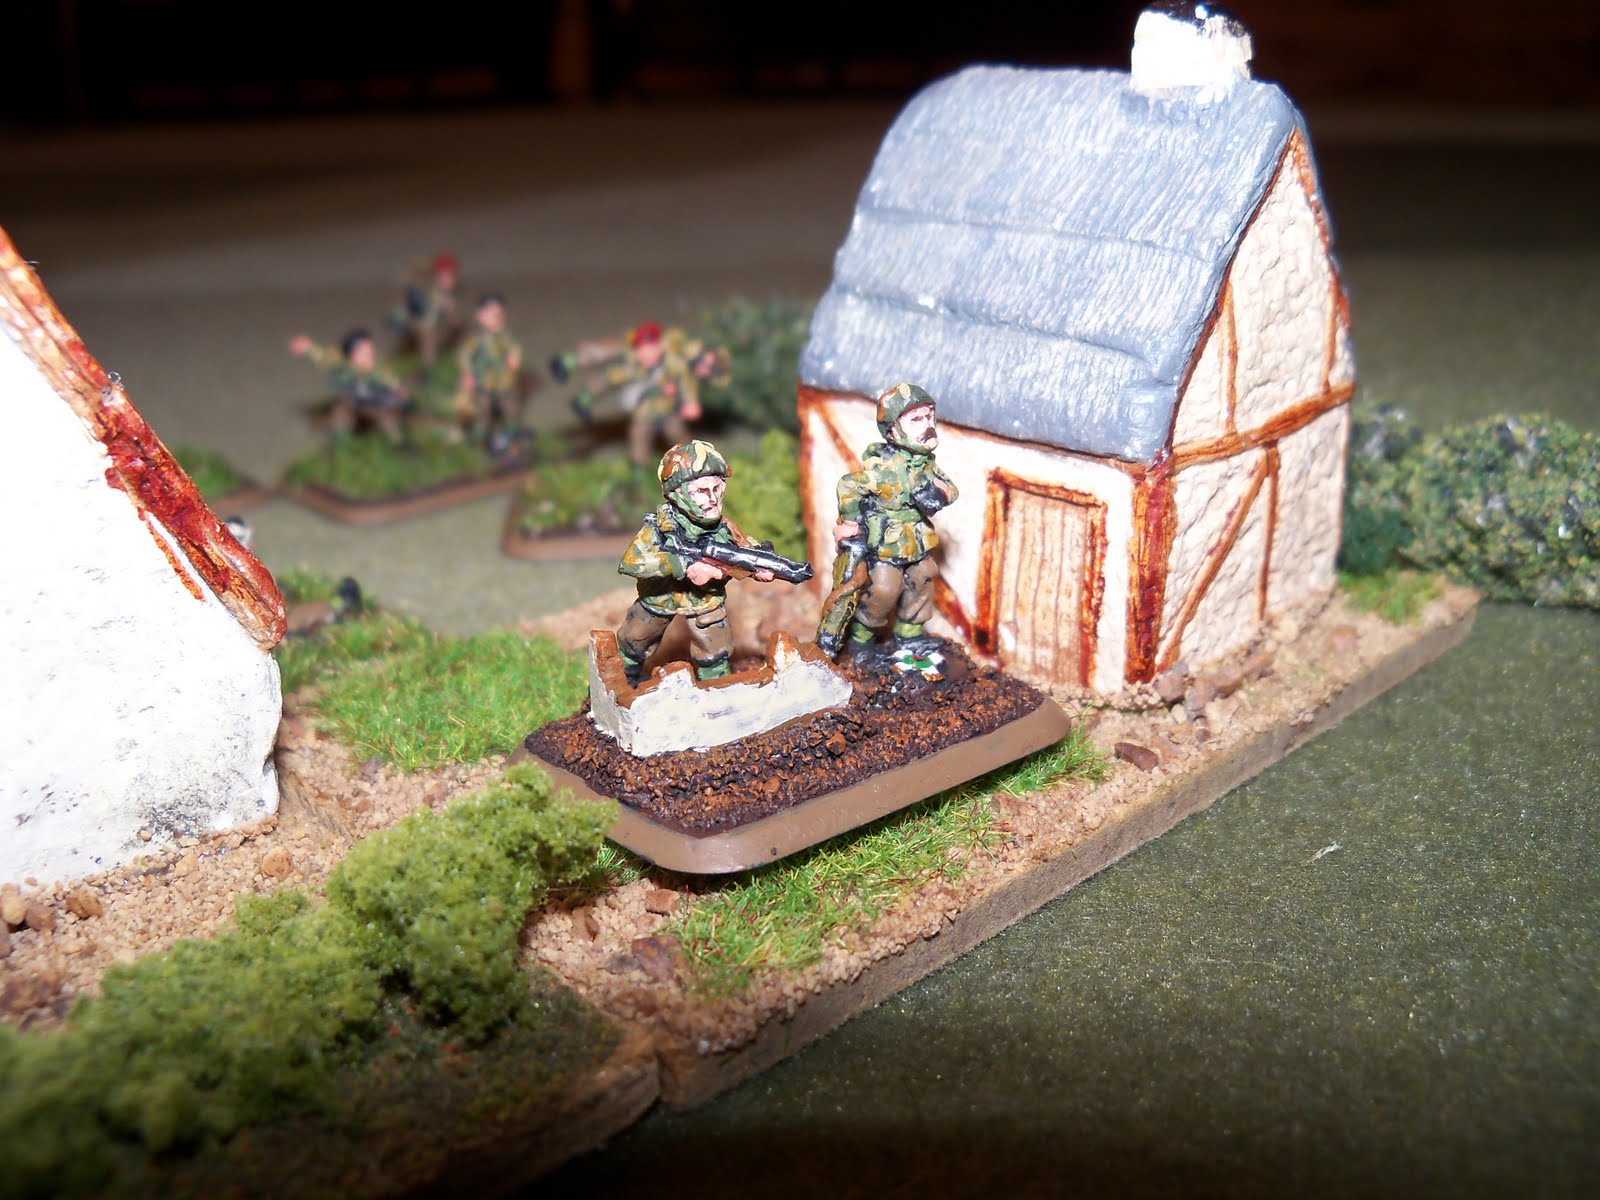
 The village of Suara. Note the destroyed Panzer III which is an Australian Objective.
 The Encounter mission uses four special rules: Mobile Battle, Delayed Reserves, Scattered Reserves and Fair Fight:
1.
Mobile Battle: All teams count as if they moved in their last movement step during the first player's Shooting step.
2.
Delayed Reserves: Half of each side's forces are off the board and are designated as reserves. on turn 3, the player gets to roll one die, turn 4 two dice, etc. Each roll of 5+ brings a platoon from reserve onto the table.
3.
Scattered Reserves: Roll a die to determine where each platoon arriving from reserve appear on your table edge.
4.
Fair Fight: If neither player wins (captures an objective within the amount of turns for the game or breaks the other force), both players use the loser's column to determine their Victory points.
The Afrika Korps:4th Kompanie, 2nd Battalion, 104th Shutzen Regiment, 21st Panzer Division, DAK
Company HQ: 45 points
1st Rifle Platoon (2 Squads): 135 points
2nd Rifle Platoon (2 Squads): 135 points
3rd Rifle Platoon (2 Squads): 135 points
Heavy Platoon (2 Heavy Machinegun Sections): 140 points
Anti-Tank gun Platoon (2 5cm Pak 38 guns): 80 points
Panzer Platoon (3 Panzer III G/H and 2 Panzer IV G): 560 points
Heavy Anti-aircraft Platoon (2 sections of 8.8cm with 8 crew): 260 points
Generalfeldmarshcall Erwin Rommel: 50 points
Total: 1540 points
The German forces are Confident Veterans except for Rommel who is a Fearless Veteran.
Rommel is a "Warrior" in Flames of War and has the following special rules:
1.
Fingertip Feelings. One German platoon within line of sight (LOS) of Rommel can make a normal move within its deployment area after all initial platoons have deployed but before any Reconnaissance Deployments.
2.
Rommel at the Point. When Rommel leads from the front (to the dismay of senior commanders and his staff) any German platoon with LOS of Rommel may re-roll any failed Motivation tests or Skill tests to make Stormtrooper moves.
3.
Herr General. If Rommel's command team is destroyed during a game the German war effort has suffered a severe blow. The German player loses one Victory Point and their opponent gains one Victory Point.

The dreaded "88's."
The Australians:A Coy, Divisional Cavalry Squadron, 9th Australian Division
Company HQ (2 Crusader II tanks): 155 points
1st Cavalry Platoon (3 Crusader II tanks): 230 points
2nd Cavalry Platoon (3 Crusader II tanks); 230 points
Carrier Platoon (3 Universal Recon Carriers): 115 points
1st Australian Rifle Platoon with light mortar and anti-tank team: 225 points
2nd Australian Rifle Platoon with light mortar and anti-tank team: 225 points
Machinegun Platoon ( 2 Heavy machinegun sections): 175 points
6 pdr Anti-tank Platoon (2 anti-tank sections): 21o points
Total: 1565 points
All of the Australians are Fearless Veterans.

Prior to the Australians moving, Rommel moves the Panzer Platoon further to the left flank it what obviously looks like an attempt to start a flanking movement around the right of the Australian positions. Now time to start our 8 turn game.
Turn 1: Reacting to the movement of the Panzer platoon, The Australian Squadron CO leads the tank platoon up and around the ridge to set up some fields of fire. The infantry platoon on the left flank moves through the wadi while the XO, follows, and gets bogged down, in his tank. The 6lb AT guns fire at the Panzer IV's but find they are out of range.
The Germans first successfully dig-in the infantry platoon near the objective on the Afrika Korps right flank. The 88's also try to dig-in but are unsuccessful; after I roll I remember that the Australians have no artillery to dig-in against - a wasted roll. The 88's gun shield provides protection from direct fire. The Panzer III's move to the base of the ridge with the XO following in his Kublewagon while the IV's move to the right of the ridge by the soft sand. The Panzer IVs get off 2 shots but their fire is ineffective against the 6 lbrs. One of the 88's fire at the Australian AT guns one round hitting, but it failed to cause any damage.
Turn 2: The Australian squadron XO successfully gets his Crusader tank unstuck. The commander leads the tank platoon over the ridge and to the top - one tank gets stuck in the difficult ground. Once in position, the Crusader let loose with full rate of fire (ROF), taking full advantage of the
Tally Ho! rule for British and Commonwealth cruiser tanks. The Australian gunnery needs some work as they score only three hits on the flanks of the Panzer III's; but, that hit causes the platoon leader to bail out of his tank. In the middle, the 6 lbrs fire at the Panzer IV's (which I thought were out of range) but there is no damage. The Australian Infantry move closer and fire their light mortar, anti-tank gun and some rifles at German infantry and get some hits but the dug-in bullet proof cover saves 2 stands of infantry.

We used these 17 pounders as proxies for the 6 pounders.The platoon leader of the panzer platoon remounts his tank. The Germans don't move this turn but they do shoot! The Panzer III's return fire pummels the Crusaders destroying the tank of the squadron CO. Since commanders are treated as a "Warrior" stand in the rules, the CO gets a free save roll. It fails. Scratch one commander and the XO gets a promotion. The Panzer IV's and the 88's fire at the 6 lb AT guns; the Panzer IV's getting 3 hits and destroying 2 guns! The German infantry fires at the lead elements of the Australian infantry, getting a few hits but nothing else. The panzer platoon makes a successful skill test for a stormtrooper move; the Panzer III's move to the left of the ridge to attack any retreating tanks.
Turn 3: The new Australian squadron commander girds his teeth, drinks a can of Fosters and says, "I need my reserves!"
 We did not have enough Crusaders, so this Valentine is a proxy for the XO.
Honorable Son #2 successfully rolls a "5" for reserves and decides to bring on his other tank platoon. He rolls to see where they arrive and rolls another "5". Perfect! The new platoon will be able to reinforce the other tanks and block the move of the panzers.
 Australian reserves arrive; this infantry actually arrived on Turn 5.
With new confidence, the other Crusaders, including the one that bogged down, link up. On the Australian left, the infantry advances into a good fire position while the XO's tank provides cover fire with his hull mounted and coax machinegun. The German infantry his hit 12 times, pinning them, and 2 German infantry stands are eliminated - yikes! The Aussies are in a perfect position to assault next turn.
"Hmmmm", Herr Generalfeldmarshcall thinks, "Where are my reserves?" With a successful roll of the die, the first German reserves arrives. With the other roll, it's determined that the truck mounted panzergrenadiers will show up in the center, right behind the 88's. The platoon leader of the German infantry fails to unpin his troops; but, the commander had joined and successfully re-rolls to rally the platoon. If that would have failed, they were in LOS of Rommel which would have allowed me to roll again. I decide to move my Panzer III's into a better firing position and the trucks of the panzergrenadiers rush to the right to reinforce the other infantry. The Panzer IV's fire again at the Aussie 6 lb guns and miss. The German infantry fires at the Aussie infantry and does not miss. Two stands of infantry (MG stands) and two stands of heavy machineguns come to a total of 18 dice, catching the Aussies in the open. The Aussies are pinned and lose 4 stands of infantry, the light mortar and most significantly, the platoon leader.
 "Bruce! Where did all of the other Bruces go?"
Feeling full of confidence, the Panzer IVs and the truck mounted panzergrenadiers make successful stormtrooper moves; the Panzer IV's advancing into the face of the Aussie 6 lb guns and the panzergrenadiers moving closer to their fellow infantry.
Turn 4: No reserves this turn. The XO (also known as the new CO) appoints a new platoon leader for the decimated Australian infantry platoon. The Crusader tanks advance on the German panzers and hit the tanks 13 times. Fortunately, the German front armor holds but one crew bails out. The 6 lbr's fire and cause a Pz IV to bail out.
 A hail of fire greets the Panzer IIIs
No reserves for the Germans either. The Germans around the objective are reinforced by the other infantry platoon that moved quickly up in their trucks. The 88's help the panzers with the some suppressive fire and force one tank to bailout. The panzer platoon fires at the Crusaders scoring 3 hits resulting in one destroyed tank and forcing one crew to bailout. The German heavy machine guns fire and destroys another Australian infantry stand forcing another morale check which they pass.
Turn 5: Two platoons of reserves arrive for the Australians; an infantry platoon and a heavy machine gun platoon. The heavy machine guns move the objective on the Australian right and the infantry moves at the double to the other objective. The Crusader crews remount and the tanks attempt to flank the Panzer platoon. In a awesome display of Australian gunnery, the Panzer III's take 14 hits in the side and rear resulting in the destruction of 2 Panzer IIIs.

Two Panzer III's go up in smoke.The lead Australian platoon with the Commander fire at the dug-in Germans destroying 2 stands and forcing a morale check - which the Germans pass under the stern gaze of Rommel.
The Germans also receive reserves of another infantry platoon. As a result, I see an opportunity to push up the center with one infantry platoon while they are supported by the Panzer IV's and to attack the Australian left with my other infantry platoon. The 88's destroy one enemy AT gun forcing a morale check (which they pass!) while the Panzer IV's fire at the Crusaders destroying one and bailing out another - one tank platoon is force to roll for morale and they break! Exit one Australian tank platoon. German infantry fire destroying what is left of the lead Australian rifle platoon. I use a storm trooper move to get both reinforcing infantry platoons closer. A turn that started bad with the loss of 2 tanks but ended well with the loss of 2 Australian platoons.

The German infantry advances toward the wadi and ridges.
Turn 6: The Australian carrier platoon shows up as reinforcements near the Australian left flank. The remaining tank platoon retreats back around the ridge to move toward the objective on their right flank. The Commander falls back in his tank to get behind the ridges by the wadi. The other Australian infantry platoon makes it to the objective. The AT guns fire at the advancing German infantry trucks (I thought they were out of range) and destroy 2 with a total loss of 4 infantry teams being carried.

BOOM!British and Commonwealth heavy machine guns are trained in long range bombardment fire, so they fire at the other truck and miss.
I receive my last reinforcements, my light AT platoon which appear on my left flank. My infantry on the right starts their advance and the other reinforcing platoon is mounted behind them; covered by the heavy machine guns.

PaK36 3.7 cm light anti-tank gun platoon.
My remaining tanks advance once again on the left followed by the light AT guns. The lone surviving truck mounted infantry dismount; one lonely command stand and heavy machine gun stand. The other infantry, having witnessing the fate of the other infantry platoon, also dismounts. The 88's fire at the Aussie AT guns and they survive - again. German infantry conducts storm trooper moves to keep the pressure on.
Turn 7: The carrier patrol reaches the objective and the infantry successfully digs in.

Dig Bruce, dig! The Australian heavy machine guns destroy the remnants of the German infantry exposed in the center. The lone AT gun hits two more German trucks but both survive. The carrier platoon's machine guns destroy one of the advancing infantry and the Panzer IV's take 3 hits from Australian tanks to no effect.
Herr Generalfeldmarshcall decides to move into the village of Suara to get a better view of the fighting. The infantry platoon that took over security for the objective near Suara successfully digs in.
 Herr Generalfeldmarshcall keeping his fingers on the pulse of the battle.
The light AT guns unlimber on the left hand ridge and position themselves to cover the center of the battlefield. The Panzer IV's continue to fire at the Crusaders causing 2 crews to bailout and then they fail morale. The lone AT once again survives hits from the 88's and the German infantry pins down the Aussies defending the objective on the German right.
Turn 8: The Aussie infantry passes morale and all Aussies stay in place and shoot in an attempt to hold on. The 6lbr AT gun fires at the German light AT platoon and hits twice; however, the roll of the dice saves both. The carrier platoon fires at the infantry that is threatening the objective and scores 2 hits but no kills. The heavy machine gun platoon attempts a bombardment, ranges in on the infantry and - no hits! (There is something wrong with this dice mumbles the Australian commander) The commander fires his machine guns from his tank and gets one hit.
The German tanks advance on the left objective with machine guns blazing. The German light AT guns fire and finally destroy the Aussie AT platoon. The Aussie heavy machine gun platoon gets wiped out by the Panzers and the Germans seize the objective.
Final Tally:
Germans: 5 Victory Points
Aussies: 2 Victory Points.
A Major Victory for the Afrika Korps!

The victorious commander strikes a pose.After Action review: The game was a lot closer than the last 2 turns or points makes it out to be. In talking with Honorable Son #2 we agreed that if the Crusaders would have been more aggressive and took advantage of the Tally Ho! and Broadside special rules, the Germans probably would have lost. Several times he got off multiple shots with the Tally Ho! rule and came close to unhinging the German left but factors on the other side of the table - the loss of the infantry on his right flank - made him more cautious. In addition, the psychological impact of the dreaded 88's covering the center were also a factor. For our next battle, we are going to switch sides and give it a go!

 "Shine Spark" is the second Legendary card released exclusively for the U.S.P.V. Inferno. The Inferno has a low attack power in comparison to other capital ships it is likely to encounter. It was one of the first vessels humans made specifically for off-world combat.
 The next legendary card released was created for the F.A.S. Intrepid. The first legendary card created for the Intrepid class was "Colossus Cannon" (available only in Deluxe Set 1). The Colossus Cannon is a fierce weapon but takes an unusual amount of time to fully charge. This delay proved catastrophic in combat since it signalled to enemy vessels to move in quickly before the cannon can release its deadly discharge.