The continuation of our first battle of Rebels and Patriots (Paid Link): The Battle of Lament Hill took place during the French and Indian War as both the British and the French attempt to hold Lament Hill. Lament Hill is a key piece of terrain in the Wvatucallit Valley; an ideal spot to control an invasion route to the British Colonies or a perfect spot for an advance supply depot for the British. So far, the French have held the objective for two turns; however, their Huron allies have deserted the field of battle due to the ferocity of His Majesty's Rangers resulting in a loss of 25% of their force.
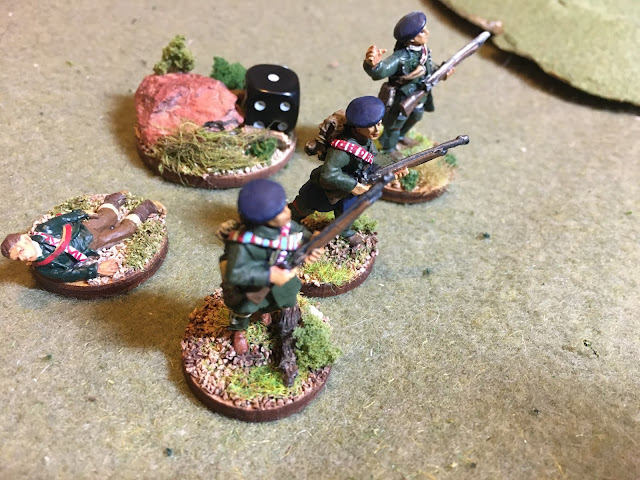
Fortune smiles on the French as the 2nd Marine Company rolls a double "6" when they are activated to fire. Off to the Double 6 table and . . .
. . . a "1" is rolled allowing the French to rally a unit for free. Unfortunately, there are no disordered French units (would have come in handy last turn) so nothing happens.
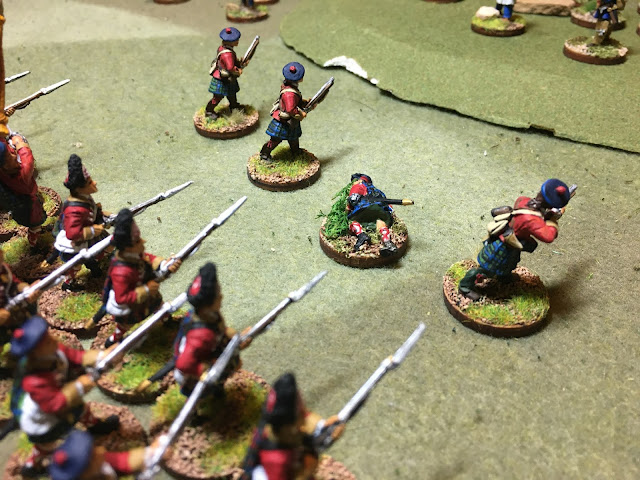
The 2nd Marine Company fires at the Light Company of the 42nd Highlanders and take out a figure.
Smelling blood, the 1st Marine Company also fires at the Light Company and removes another figure. (I mentioned in the previous post how I need to replace my hills. What a minute, that's limestone on the hill. At least that's the story I'm sticking with for the rest of the battle.)
The Light Infantry in kilts pass morale, but now receive a permanent morale marker for being at half strength.
The Light Company of the 42nd Highlanders were a small unit consisting of 6 figures. Now that they are at half strength, they now have a permanent disorder marker; i.e., it can never be removed and counts as one disorder but does not mean they have to rally. With the permanent marker they now shot and fight at half strength.
After firing last turn, the Canadian militia decide to take another breather and do nothing.
Now the British take action. The Highlander Light Company conducts a Skirmish move and fires at the 2nd Marine Company at half of half strength! (Yes, the British commander is crossing their fingers!)
Suddenly, the ultra aggressive and probably foolhardy Rangers attack the 2nd Marine Company. Tomahawks, rifle butts and knives result in the removal of 3 French Marines and 2 Rangers giving the victory to the Rangers.
Yikes! Now the Rangers are at half strength (permanent morale marker) plus they fail morale due to their casualties. This small unit idea may not have been a good plan.
The French pass their morale check (whew!) but have to retreat a half move away from the Rangers since they lost the fight.
The French pass their morale check (whew!) but have to retreat a half move away from the Rangers since they lost the fight.
The French have now controlled the objective for 3 turns.
The French Lieutenant smiled as he noticed all of the permanently disordered units that his British opponent had. This was his opportunity to put the British at 50% or below causing all units to conduct morale checks early - and hopefully end this game early.
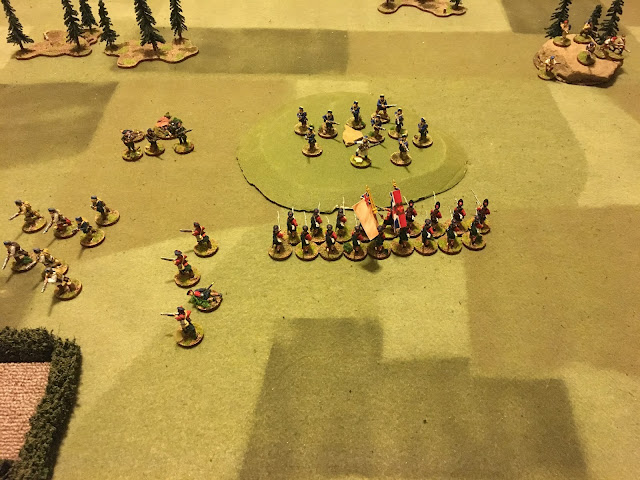
The situation at the beginning of Turn 5. In Rebels and Patriots (Paid Link), units have a 360 degree arc of firing - with the exception of units in Close Order and artillery which have a 180 degree arc.
And another Highlander from the Light Company of the 42nd goes down!
"Well, we are only militia. If the regulars aren't going to do anything at the objective, I guess it's okay for us to do nothing."
The 42nd Highlanders are also disordered from the one casualty (more bad dice rolling!). Even though they occupy the objective, they do not control the objective since they are disordered.
Is it possible that the French are grabbing defeat from the jaws of victory?
With bagpipes playing the 42nd Highlanders attack. Lieutenant Deschamps orders the 1st Company of Marines to Evade, allowing them to perform a Skirmish action which only takes out one highlander.
The 42nd just had enough movement to make contact and a furious melee erupts. As Shock Infantry the Highlander cause a casualty in Fighting for every two rolls of the die that are 5+. But, the 42nd is also Agressive (4+), Attacking (3+) and their first Fighting (2+). It's not looking good for the French.
The French 1st Marine Company is now below 50% and is permanently disordered. Things go from bad to worse when the roll at -2 for morale, add 2 more disorder markers and must flee from the field of battle.
The 42nd Highlanders are also disordered from the one casualty (more bad dice rolling!). Even though they occupy the objective, they do not control the objective since they are disordered.
The French are now at 50% strength based on starting points and each remaining unit must roll for morale. The remaining units easily pass.
Meanwhile on the British right flank, the Light Infantry fails to activate but the Rangers rally (I forgot to remove the Ranger's disorder marker before the picture.
The French start to lose heart as they are grabbing defeat from the jaws of victory.
The 2nd French Marine Company eliminates the Light Company of the 42nd Highlanders! Could the tide turn once again?


Outstanding display and action, Neil. I marvel at the work on your warpainted natives.
ReplyDeleteJonathan,
DeleteThanks. I really took my time with them with some repainting. Thanks again!
Neil
Wow a real see saw of a battle this is turning out to be! I thought the Highlanders had done it but now I am not so sure....
ReplyDeleteThere was groaning on both sides due to the fickle winds of fate.
DeleteNeil
All the firing at one another in the open is taking a toll—can't they hear me yelling at them to get behind the trees?! The body count is like a Hollywood 'thriller'!
ReplyDeleteRegards, James
James,
DeleteDon't worry, there will be more trees in the next game but overall and good introductory scenario!
Neil