
This is what the completed unit looks like - we will get there!
My preferred method for painting all figures is to do the faces and and other exposed portions of skin. For me, it brings out the "personality" of the figure and inspires me as to how I paint it. Trust me (you'll see later) I'll change my mind on what I'm doing based on inspiration. All of the paints will be Vallejo, unless mentioned. For my Afghans I have used two paints at different times for the base, Dark Flesh and Medium Fleshtone. For these figures I will use Dark Flesh.
Here are the other two figures.
For depth and shading I take Flat Brown and water it down and put it all over the flesh parts. If it's too dark I add some more water - if there is too much water, I use a Kleenex to soak it off.
I then did the highlights with Dark Flesh and painted the hair Flat Black.
For clothing of Afghan Tribesmen, you can never go wrong with white. There are numerous photographs, illustrations and descriptions on the internet. Many commentators mention the Afridi tribe as having blue and black - but in all of the photographs and illustrations of the late 19th century I have seen of the Afridi's they did have some blue and black but various shades of white were the predominate color. There are different techniques for white; sometimes I use a grey base and sometimes a brown base. This time I'm using Flat Brown as the base. The color looks shiny because the paint was still wet when I took the picture.
As I mention there are a gazillion resources on the clothing on the internet - some of the best are contemporary! The figure on the left has been painted with Prussian Blue and a red cummerbund, the next figure a red turban, etc. I try to do all of the same color at the same time as that saves time. Painting irregulars takes time as you cannot set up an assembly line process. In fact, what works for me is to paint 6 figures at a time.
Here you can see my white technique. I'm not looking for a miniature masterpiece, just something that looks realistic at gaming distance. The folds in the cloth I leave brown and I'm not concerned that the white on the rest of the fabric would not pass inspection at Whitehall. I used Buff on the figure on the right and highlighted the figure on the right with Dark Blue.
I'm not going to bore you with highlighting, etc. I usually use a base and then highlight it. The edged weapons are painted with Silver and some of the hilts are Gold. Now I'm going to glue the shields.
In looking at photographs and illustrations of the late 19th Century, some of the tribesman would have fancy striped cummerbunds or turbans. The vast majority did not but it does add some variety and color and is a good way to make your leaders stand out.
I forgot to mention that I glued on the trail scarf of the lead figure the same time as the shield. I have learned from experience (!) not to pick up the figure by the trail scarf or it will become time to re-glue. From looking at museum pieces, pictures and illustrations, the shields are various browns, black, and even what looks like shiny yellow. The lead figures shield was hand painted Flat Black first as a primer and then Mahogany Brown with Gold. The far shield is Leather Brown. The wood on the jezail was painted Mahogany Brown, the barrel Gun Metal and highlighted with Silver, and the barrel bands Gold. Sandals and foot ware are various browns.
Definitely a tribal leader. The cummerbund is Dark Prussian Blue highlighted with Dark Blue.
Another view. The stripes look sloppy in the photograph but look just fine at gaming distance. Right when I was finishing the project, I remembered that I like to mount my leaders individually since they are the last (unless they are unlucky on the Leader Casualty roll) to die in a unit. So I decided to mount these four figures (there will be 16 in the unit) individually instead of as a group.
I use my hobby knife to carefully loosen the figures from the soda caps so as not to accidentally pull of shields, etc. The figure above also shows how to make the cummerbund look "fancy" to give the figure some color but not look unrealistic.
As I mentioned earlier, I decided while painting to mount all of these figures individually. I use Litko wood bases and these are 25mm diameter.
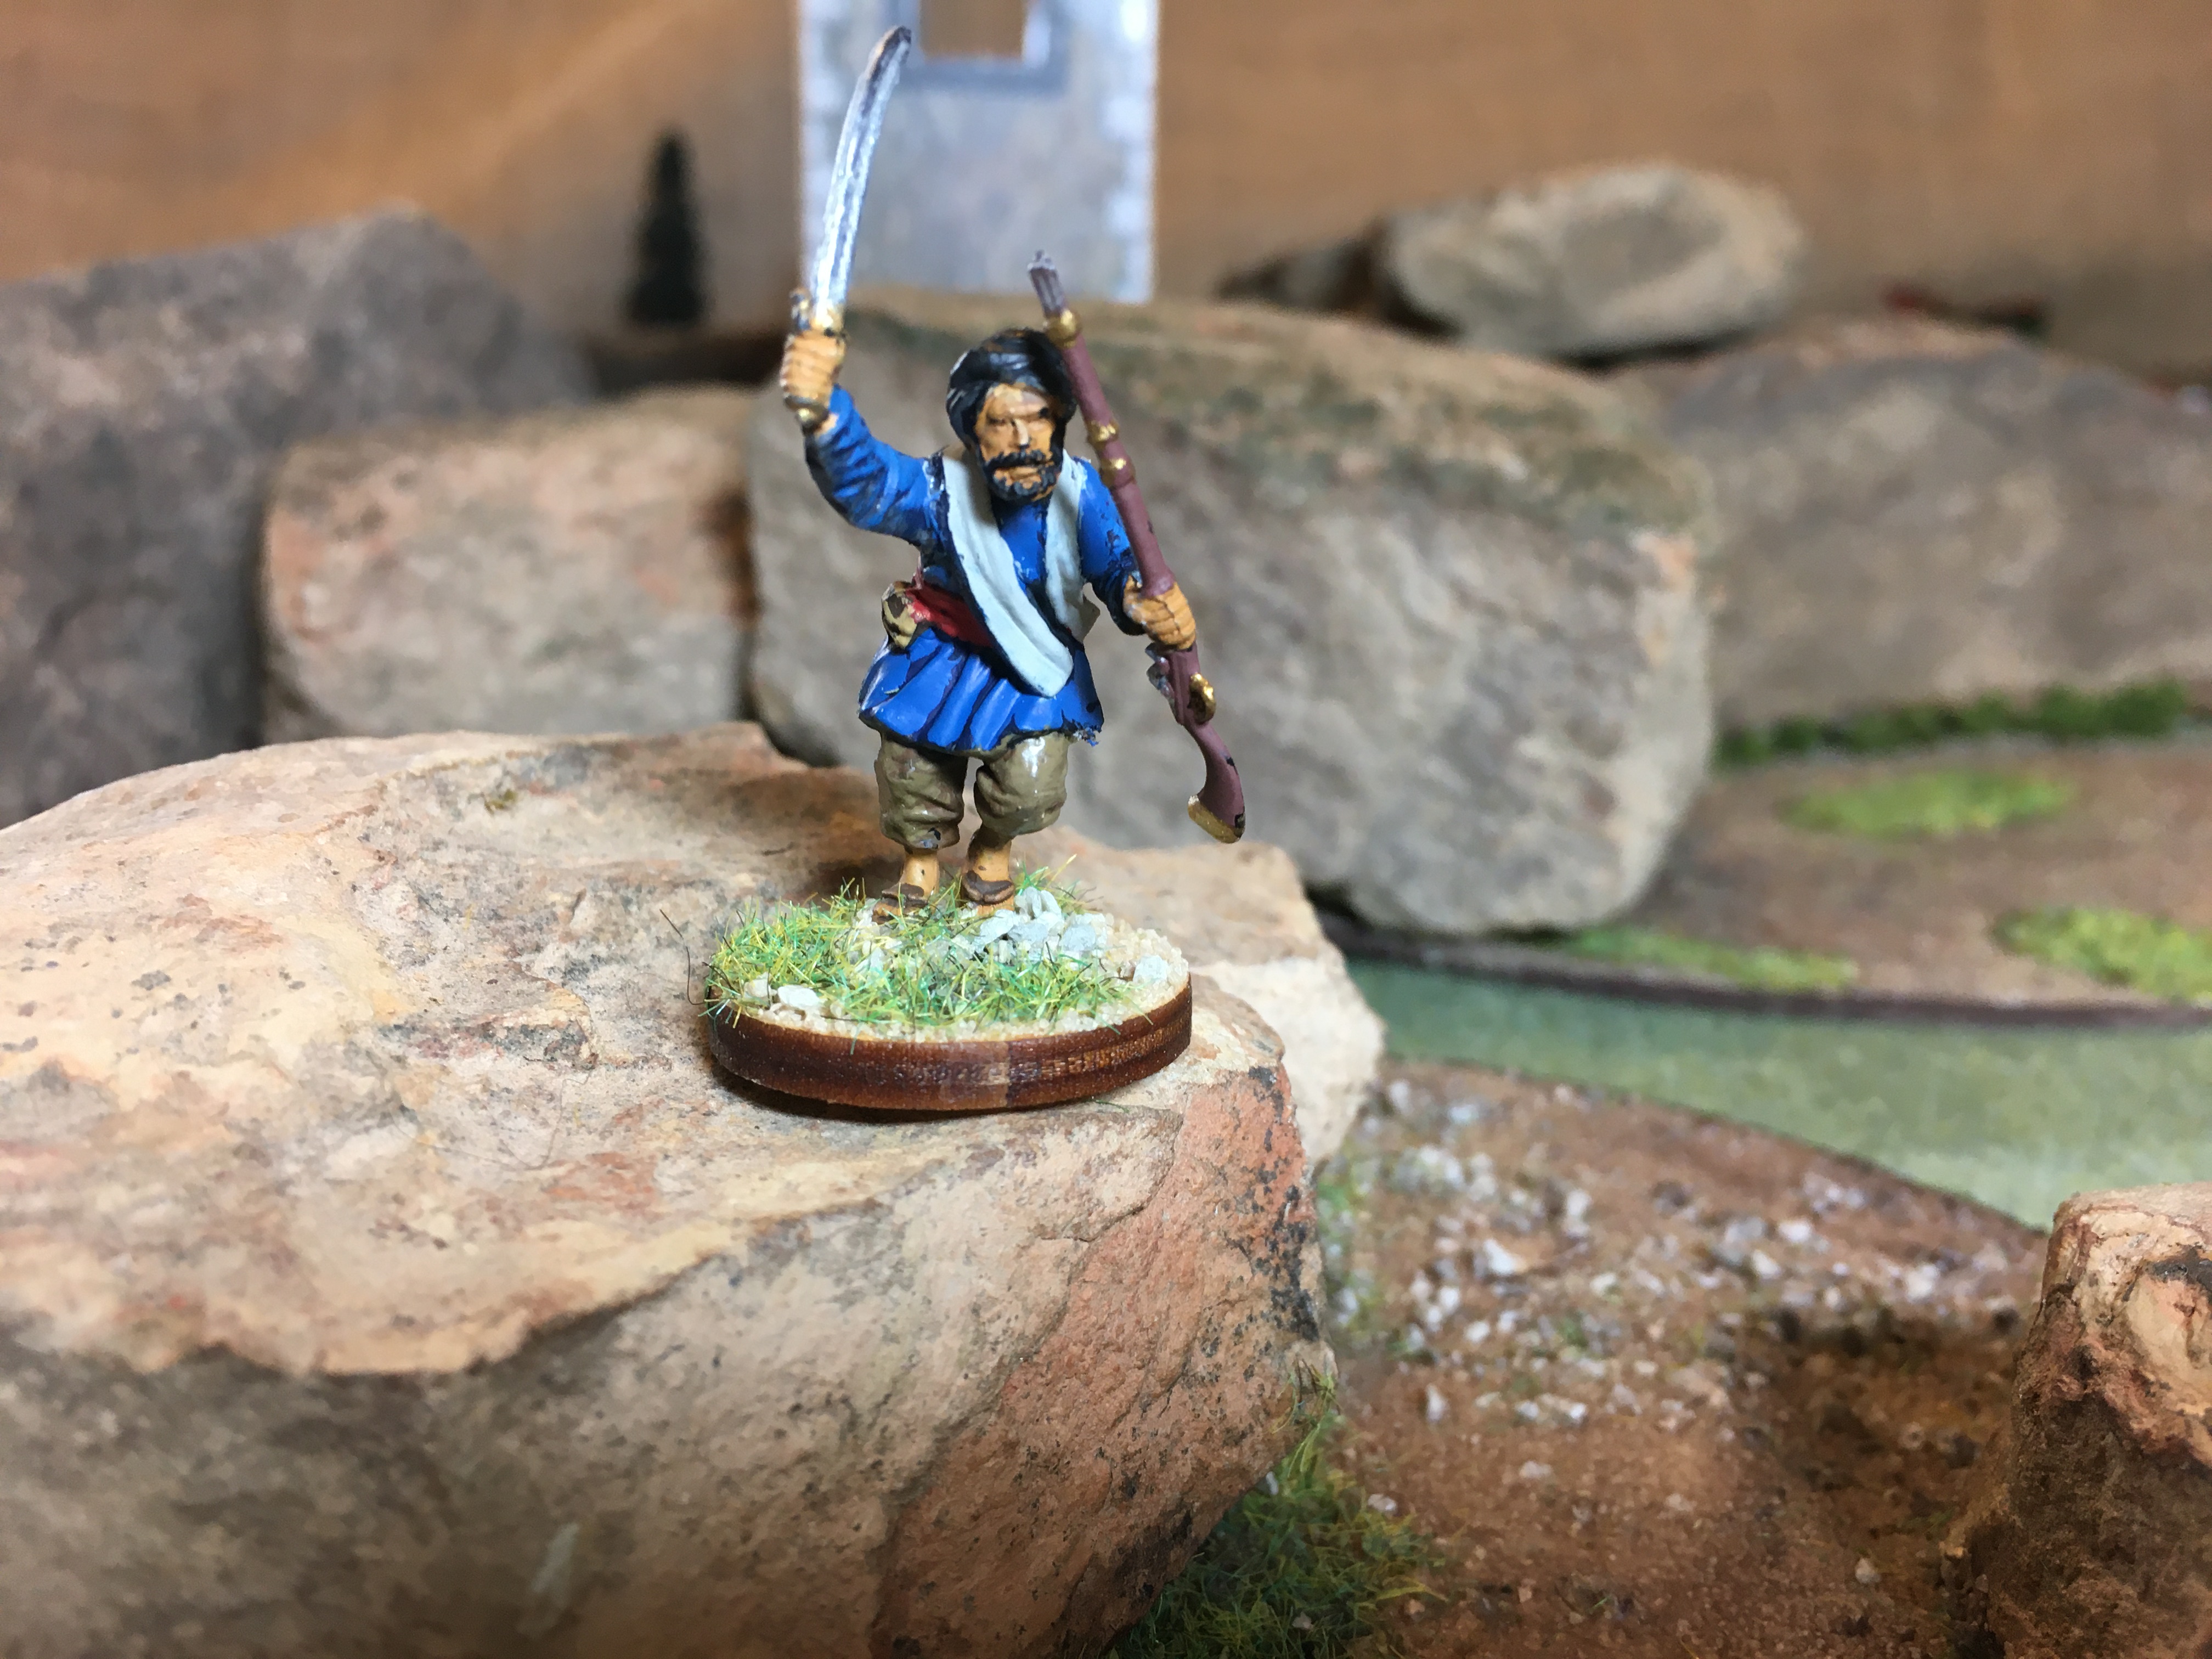
Here is another figures that I believe shows what can be achieved just by repositioning some parts. The arm with the rifle is usually being carried in previous figures I have done and have seen done. By simply repositioning it and another arm pointing up, and pushing the head back like he is yelling, it provides a simple figure with from the base model with more realistic animation. I added an extra tulwar in scabbard and below you can see I painted a red stripe on the cummerbund based on a contemporary photo.
Ironically I initially based the figure that looks like Sean Connery on a single base, but before I added sand and a sealer, I changed my mind and added him to a vignette! For the bases I simply use watered down white glue and dip it in my handy dandy container of sand. Once it dries I had another watered down layer of white glue to help hold the larger "rocks" in place. Once that is dry (you guessed it) I use watered down white glue in some areas and add static grass. Here are the completed figures:
Up next: Adding some spice to individual bases and multi-figure unit vignettes.


No comments:
Post a Comment