
When we last left events were not going well for the Late Romans as their cavalry had been hurt badly to include the Mounted Companions (spoiler alert - it's not good if your general dies!). The Roman Infantry (Ordinary Shieldwall) were slowly being pushed back by the Saxon Sea dogs. One bright note was that the Roman skirmishers who pulled one of the Warrior bands from the attack and destroyed them with javelins and arrows.


Late
Roman infantry desperately trying to hold the hill. For almost the rest
of the game I allocated numerous LP's to cancel hits and keep them
alive!

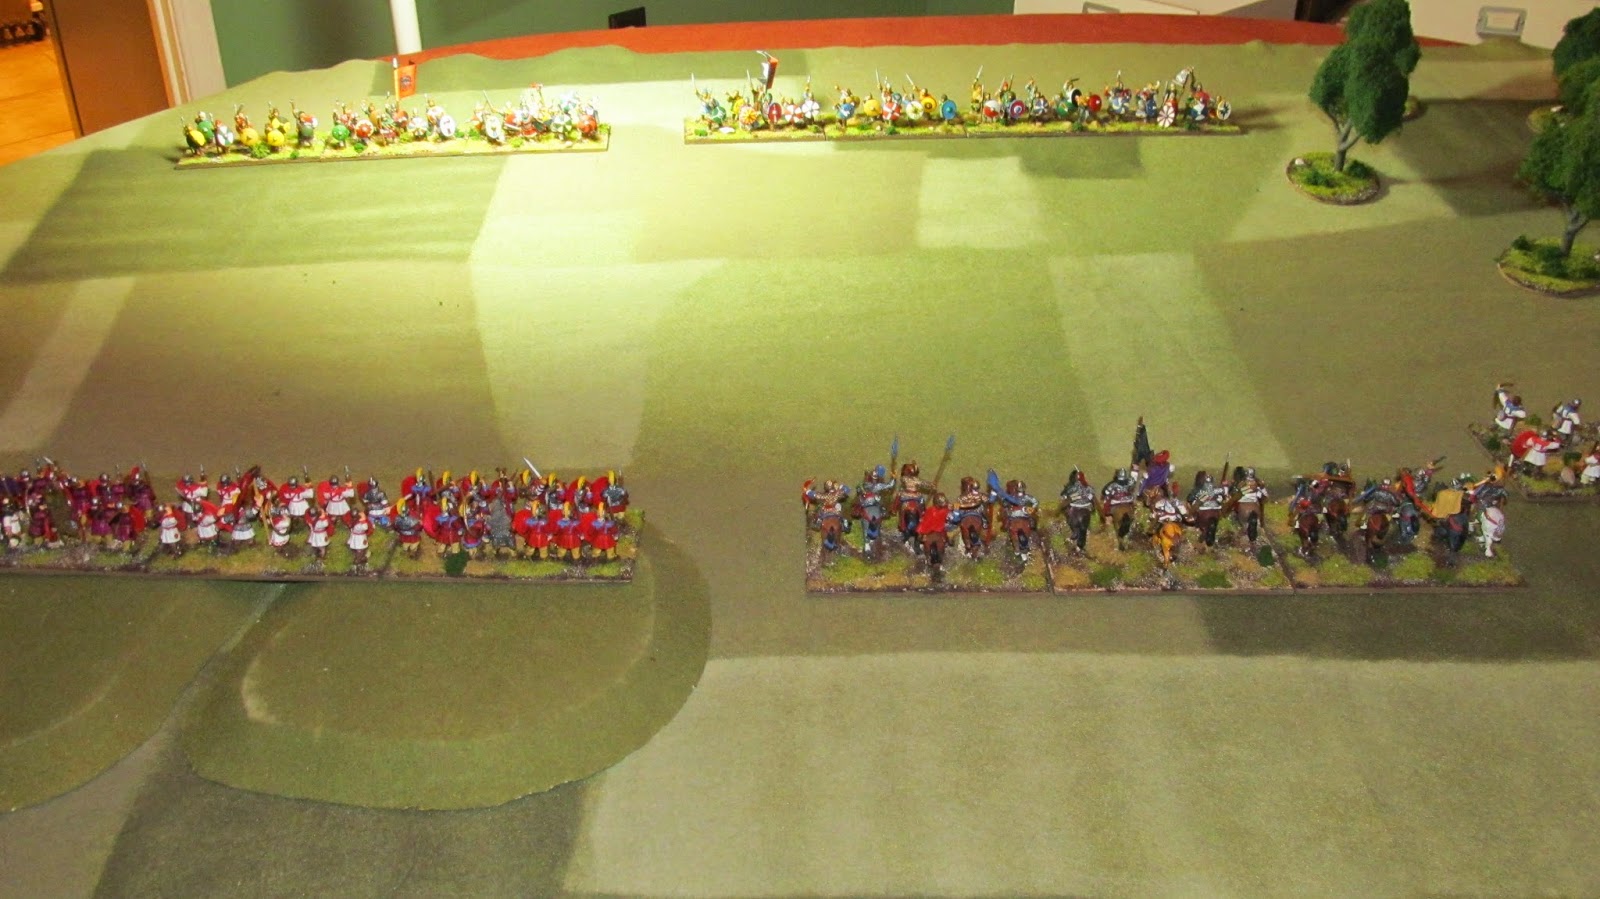
The
Roman commander and his Mounted Companions - bust unit in the army but
it has taken some casualties. The the left are the Noble Riders.


The
Roman cavalry forces the enemy line back allowing the Roman Cataphracts
(upper right hand corner) shoot the gap and hit the Saxons that are
attacking the hill in the flank. The Cataphracts hit hard.

Roman skirmishers with bows moving up. They have better range than javelins but cannot shoot and move at the same time.


The Mounted Companions take another hit but press home the attack allowing the skirmishers time to get on the flank.

A
Warrior element is destroyed by the Cataphracts and now Roman infantry
starts to outflank the barbarian line. Note the 3 LP's added to the
Noble Warrior stand that is outflanked in an attempt to cancel out hits.

Amazingly
(and with some great die rolls!) the javelins weaken another Warrior
unit and they get polished off by a cavalry charge. The Saxon general
loses another LP to use as a result.

Saxon flanks start to collapse as a fight to the death starts.


The Loyal Noble Warriors go down fighting true to their oaths.

As the Saxon Warlord holds his ground, his army collapses around him and flees the field of battle. Note the hits on the Roman cavalry and Mounted Companions. It was close.
Dux
Bellorum is a great game - fast, fun, furious and to me gives the
flavor of Dark Age battles in Great Britain. It is published by Osprey
games and on Amazon right now a new copy can be purchased for $12.96.
The game was played from start to finish in about 2 1/2 hours. The
Saxons will bring some skirmishers next time as the heroes of the fight
were the javelin armed Roman skirmishes. When the initial attacked
failed, they drew off one of the Warrior elements and then with the
archer armed skirmishers, destroyed. Later, they helped finish off a
weakened Warrior element on their flank which enabled the left of the
Saxon line to be outflanked. Fortunately for the Romans, the shield wall
held with the use of LP's to cancel hits.

Heroes of the Empire.
Some other pictures from the battle:


