As an Amazon Associate I earn from qualifying purchases

Showing posts with label Mr. Babbage. Show all posts

Tuesday, October 18, 2022

"Get the Ammunition to Camp Bailey!", The Conclusion

Synopsis: All is not going well for the detachments from the 10th Bengal Lancers and the 20th (Punjab) Regiment as they attempt to get Billy the Mule to Camp Bailey. The rules are "Skirmish Kings" from The Men Who Would be KingsEarly on, though I would not admit it, I realized that I had forgotten approximately 30 years of military tactics and knowledge as the Pashtuns, led by the redoubtable Mr. Babbage, are a bloody nuisance! On with the Hollywood type gaming adventure.
 
Turn 10.


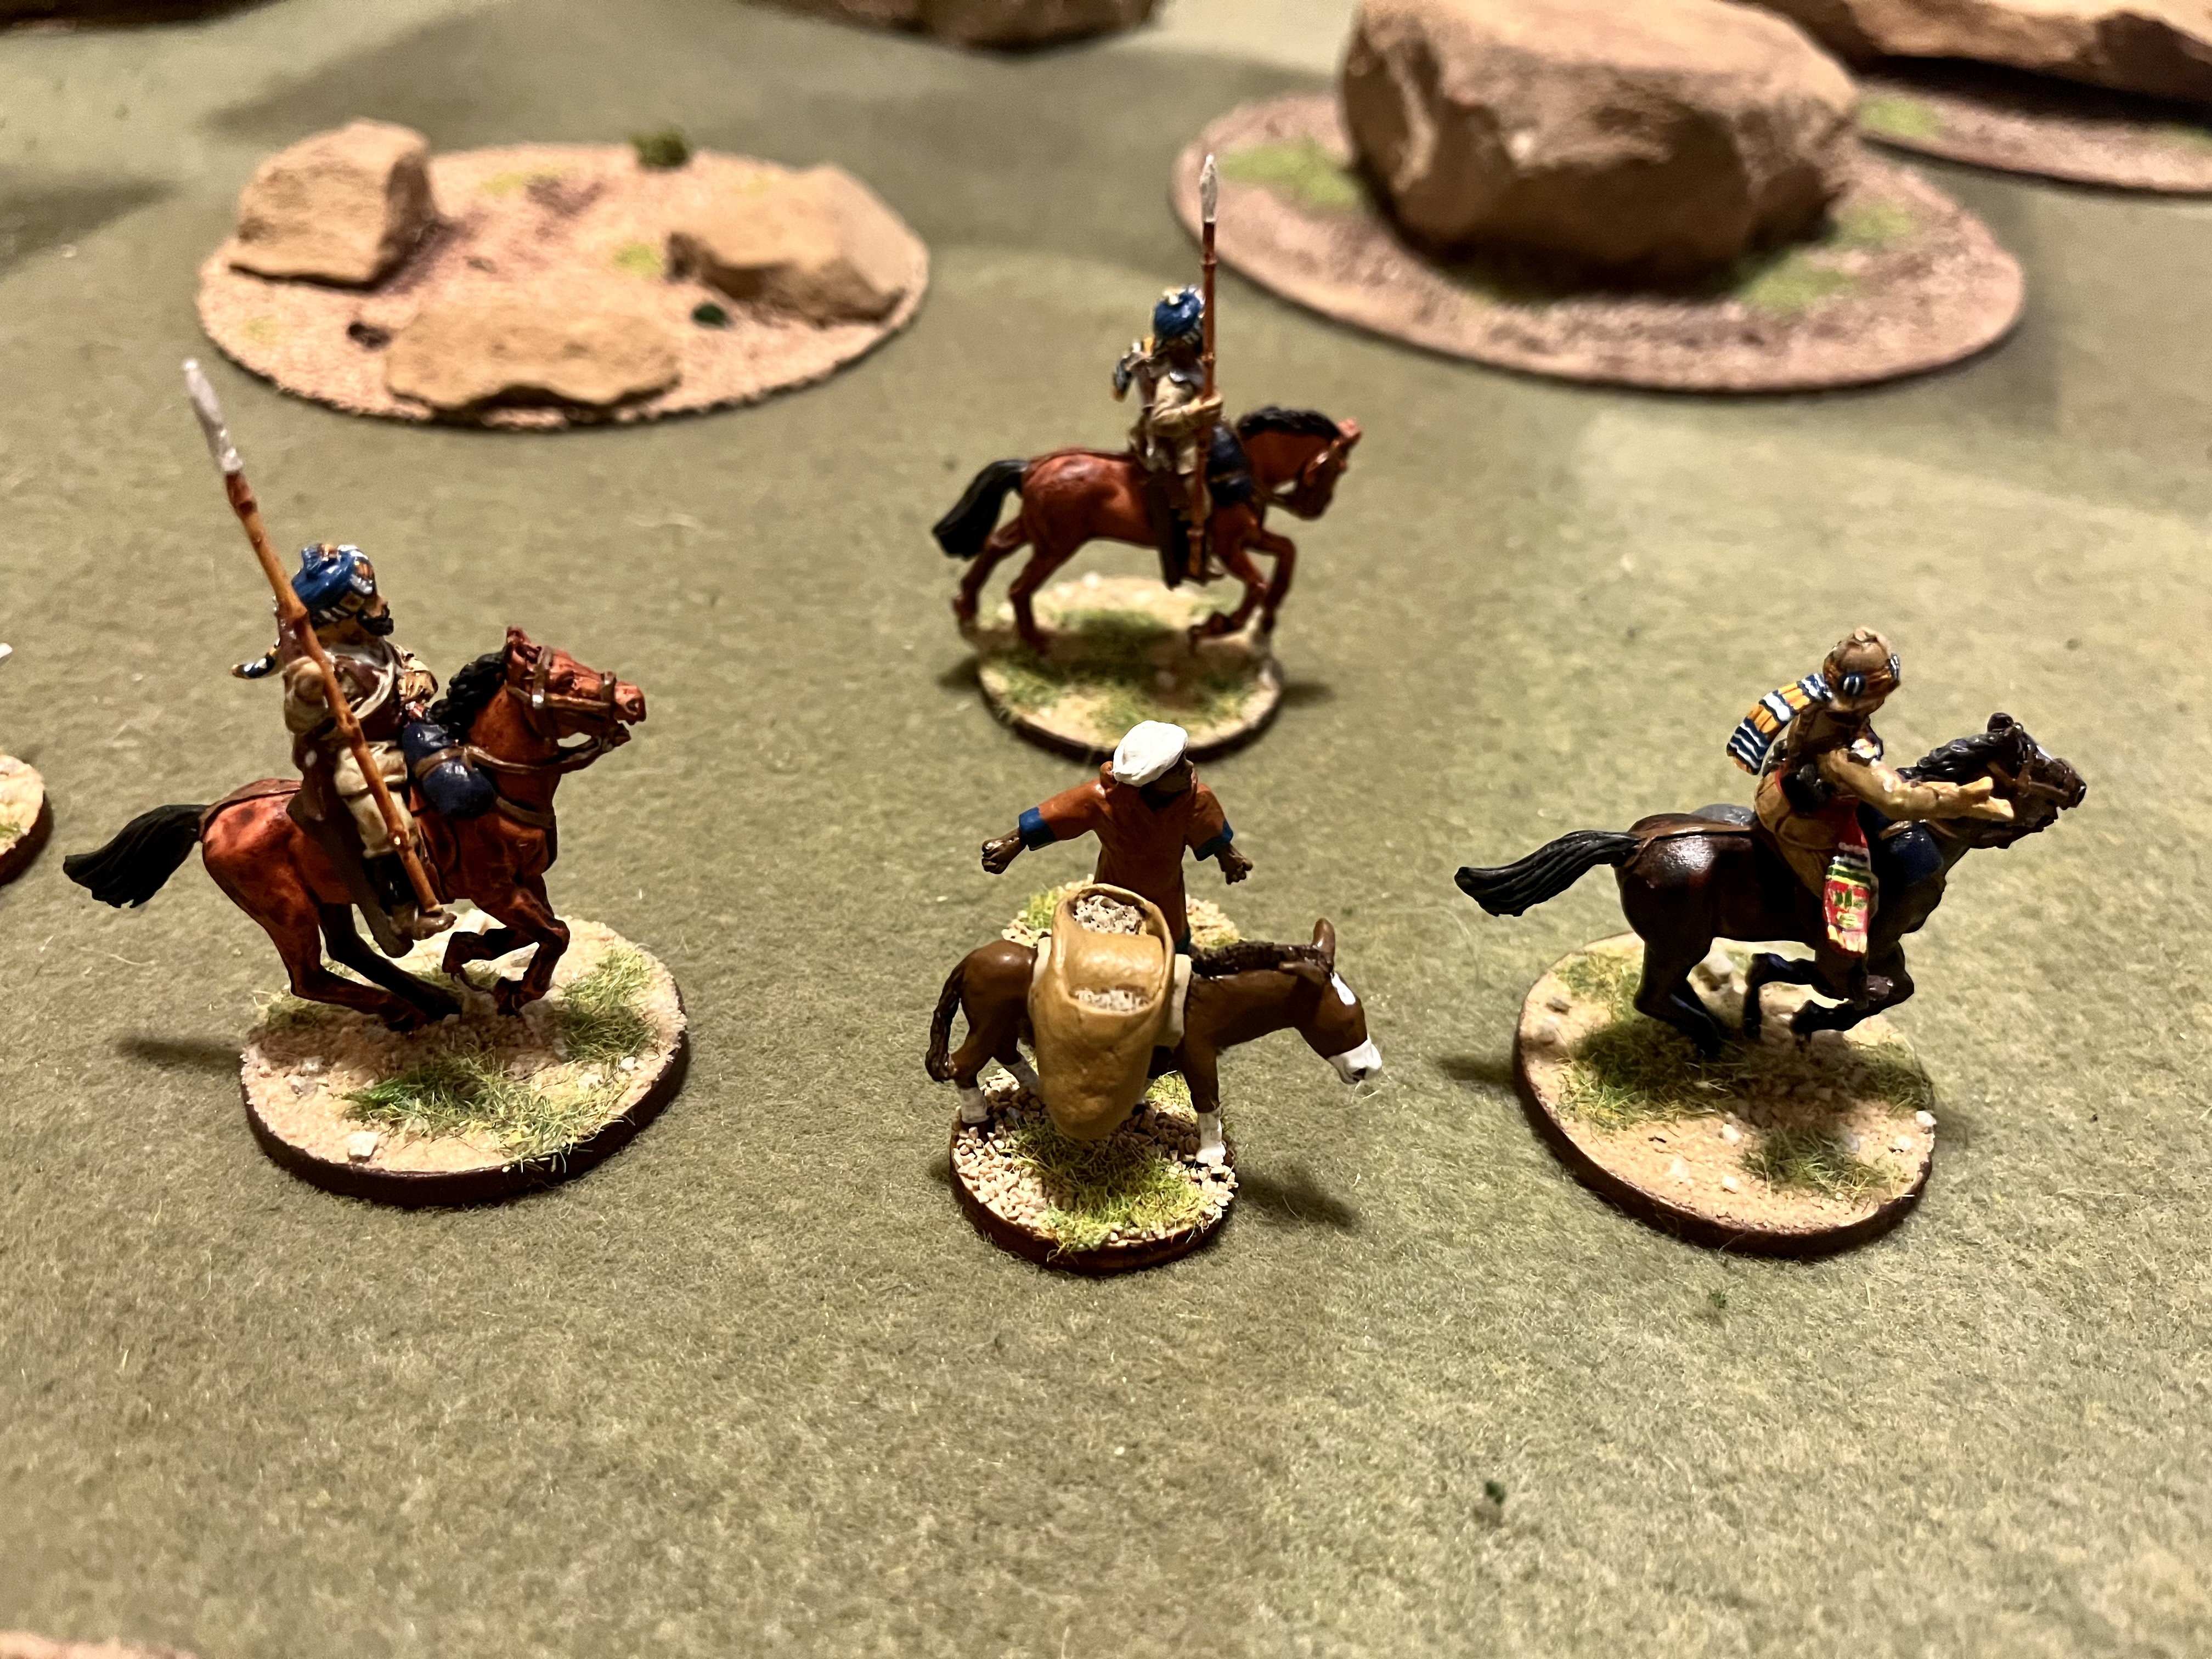
Captain William "The Sash" Huntington Wilmont-Smythe and A Troop of the 10th Bengal Lancers have taken over escort and protection duties of Billy the Mule from the last remnants of the 2nd Platoon from the 20th Punjabs. Unfortunately, it takes time to reorganize his troop. Okay, he failed his leadership roll. But that's the beauty of adding details to the narrative: Why did the troop not move? They had to reorganize now that they had Billy the Mule with them. 


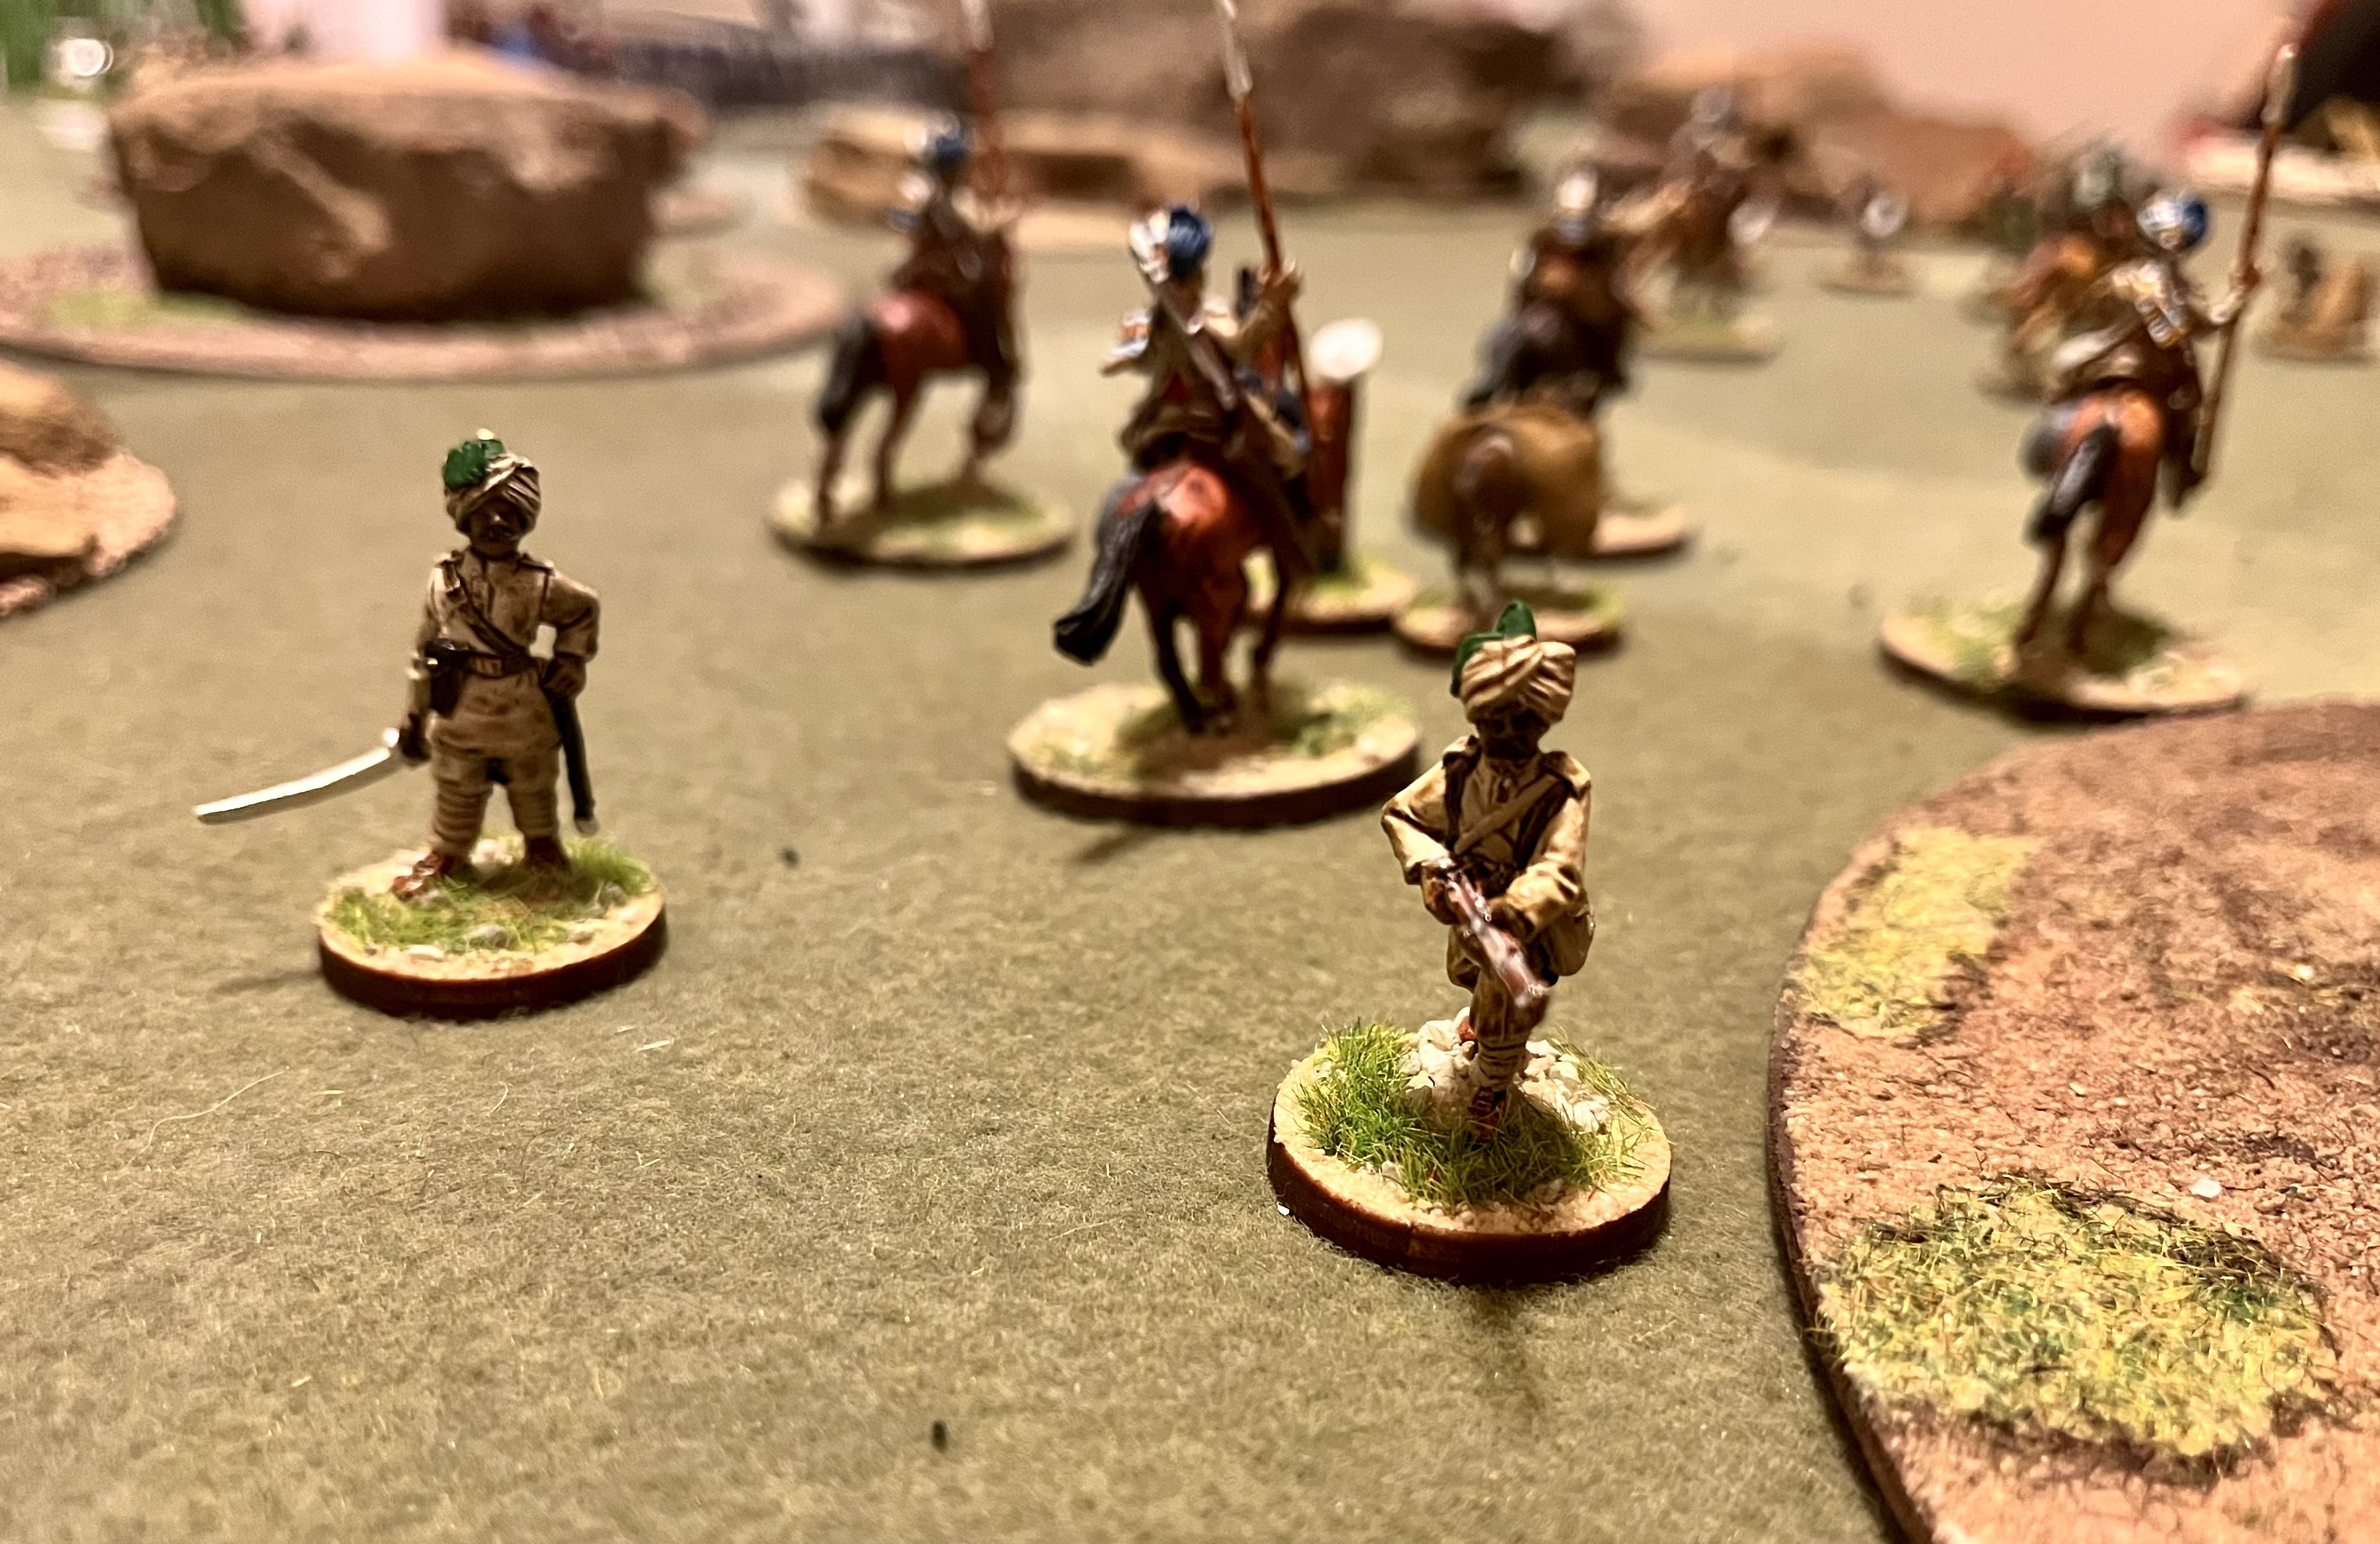
HH Maharjah Colonel Sir Gupta Varma, GCSI, (Hero of the Empire), on seeing the mass of tribesmen heading to the greatly reduced B Troop, orders carbines to be fired knocking out one of the enemy.

The lone jemadar of the what's left of the detachment from the 20th Punjabs has vowed to hold his ground and protect the rear of the column.

These guys again!

He was true to his salt.

Not deterred by the carbine fire, the enemy charges B Troop!

One sowar falls, but the mighty sword of HH chases off the rest.

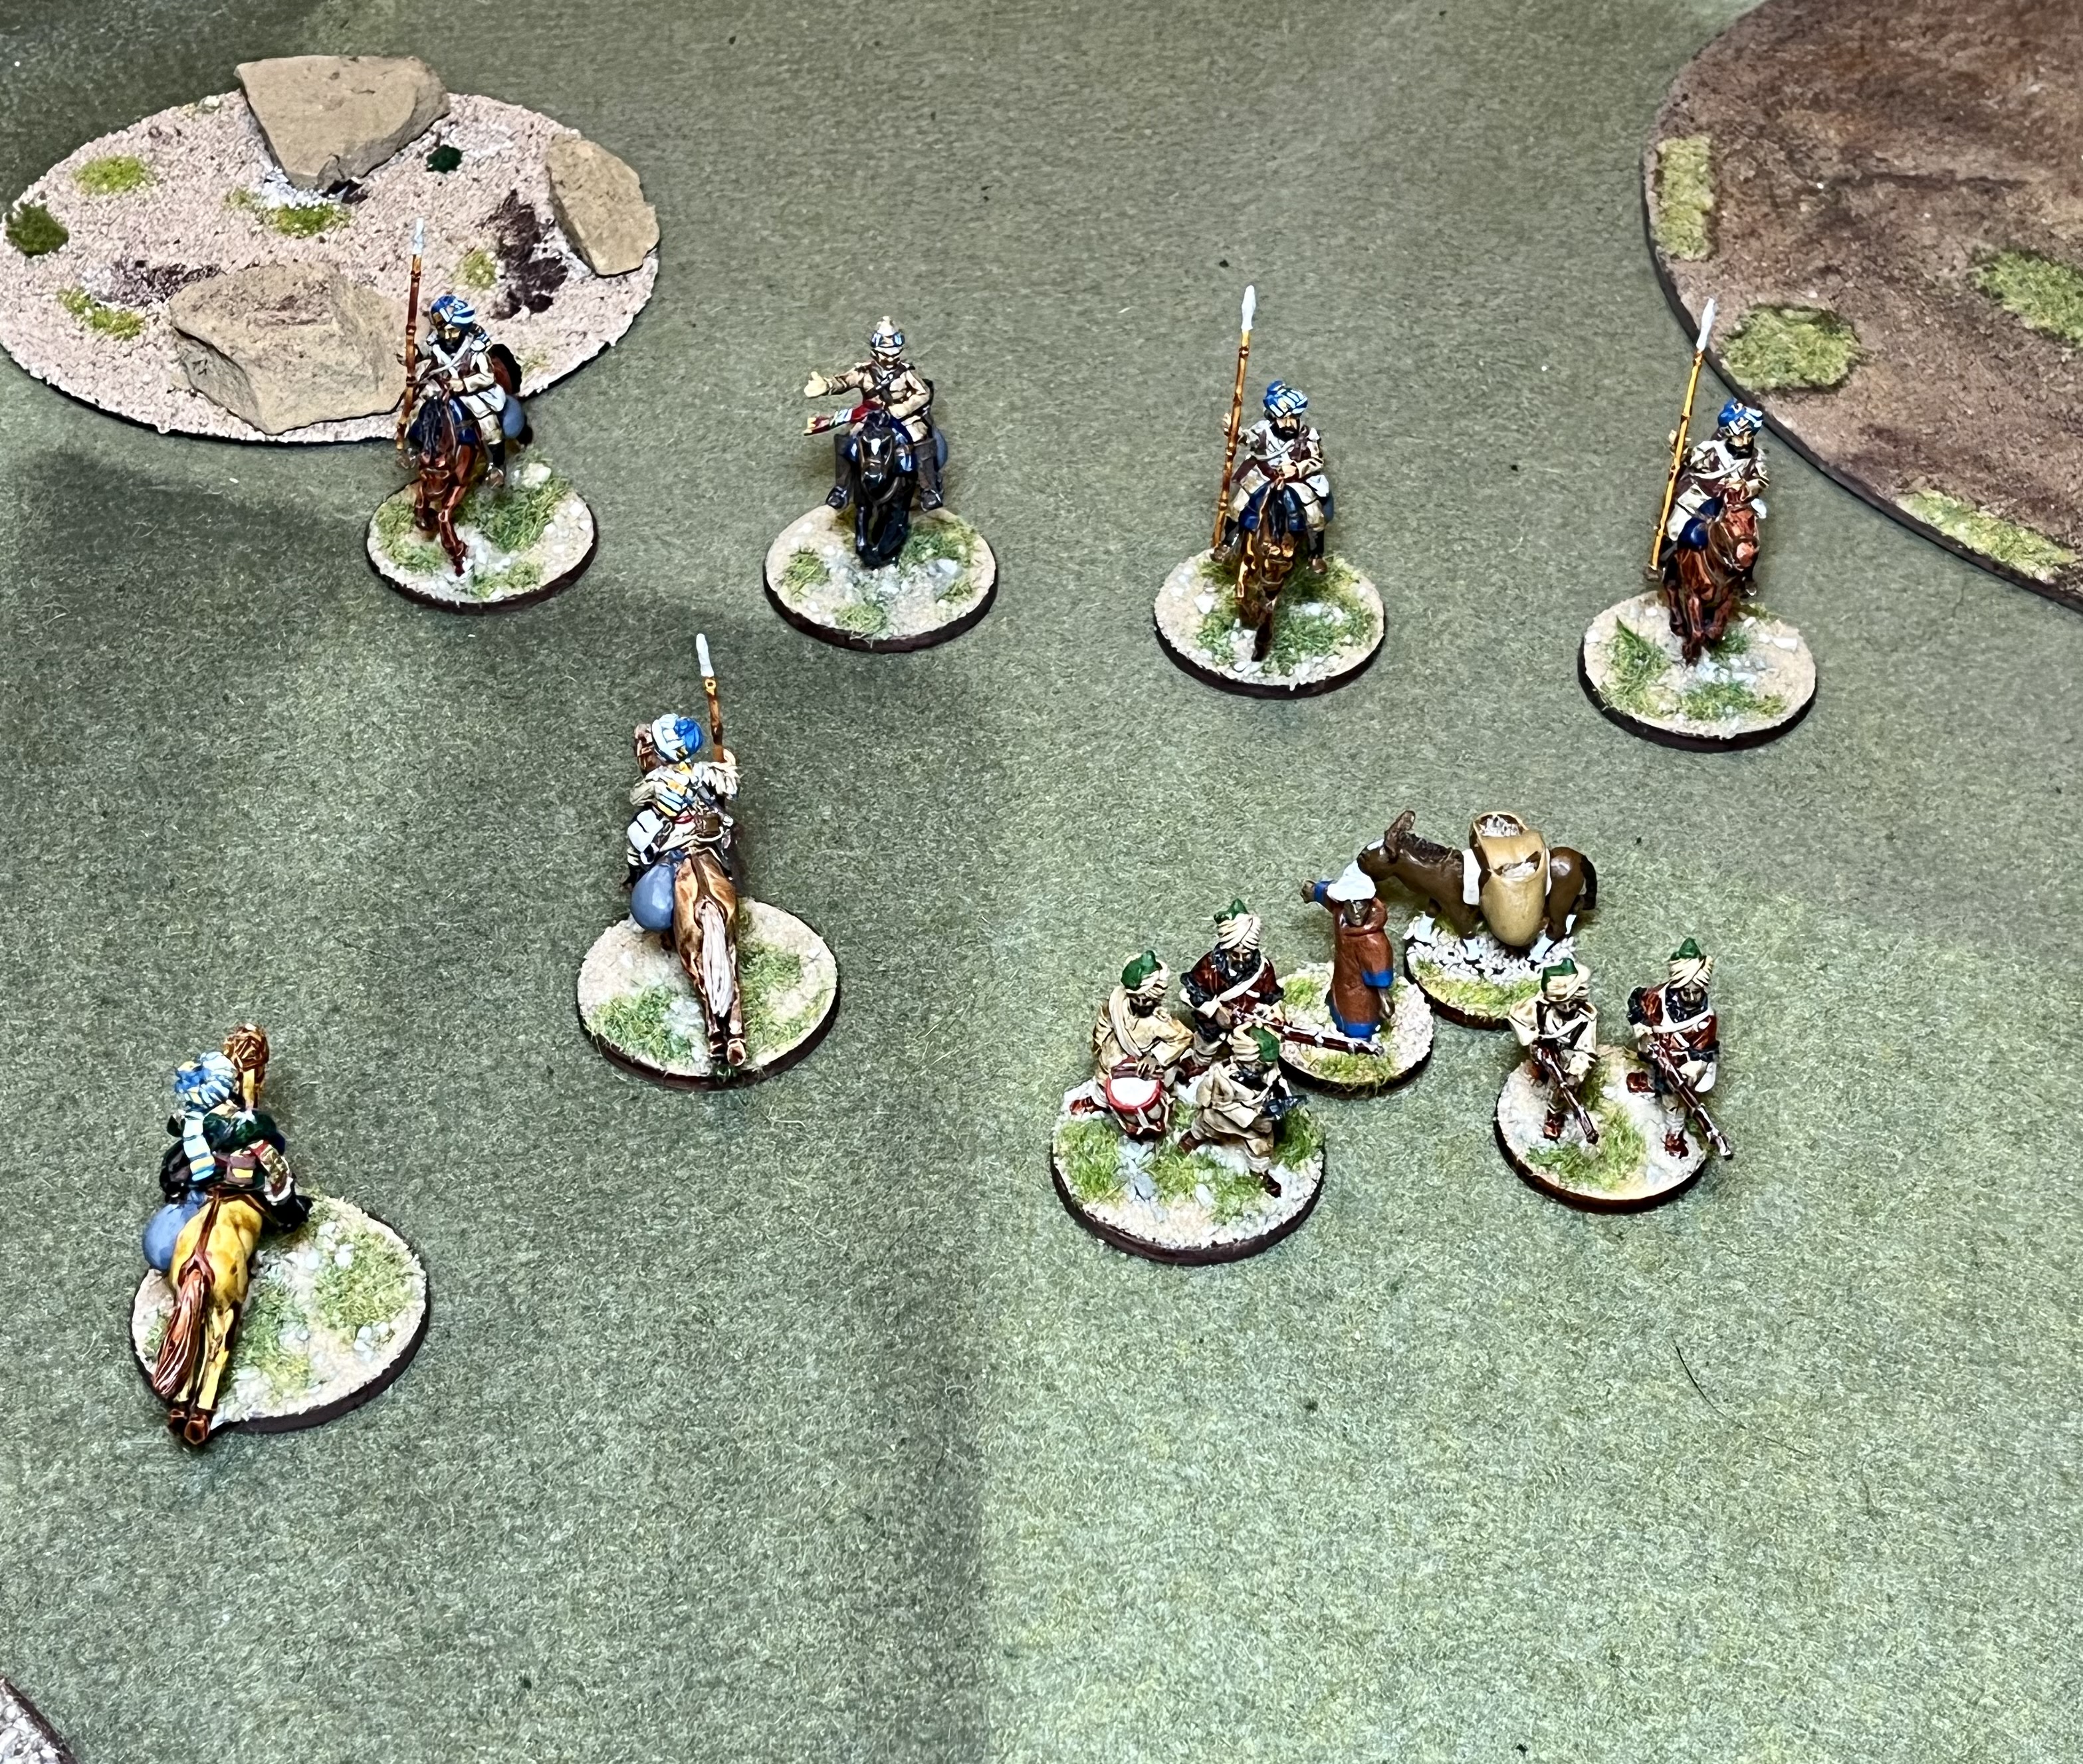
The Indian Army at the end of turn 10. It is not looking good.

Turn 11.

"AT THE DOUBLE!" orders the Captain (or whatever the command is for the cavalry). A Troop and Billy the Mule move a whopping 16 inches (Imperial of course) closer to Camp Bailey.

"I say Charlie, is that our ammunition?"
"Yes sir, quite."
"Sporting jolly of them to bring it."

Yikes! Where did they come from?

Clear fields of fire.

HH charges the fleeing tribesmen to cause more confusion and to distract the enemy from A Troop.

And flee they do.

HH (He's a Hero of the Empire after all) follows up the charge!

The man is a force of nature as he swings left and right with his saber.

"We have had enough of the might Green Jacket (and now they have 2 pin markers).

KAPOW! One sowar is a casualty . . .

. . . and a group from the right flank charges.

The attackers have to retreat, having lost the same amount of casualties as the lancers; however, the lancers are pinned.

Let's come down from the high ground.

Amazingly, the unit that was hammered by HH Rallies.

Turn 12.

They continue to move closer to the camp.

HH once against charges into the fray.

He is an instrument of destruction!

"We have had enough!"

"Get the ammo!" The last stand of Captain William "The Sash" Huntington Wilmont-Smythe.

Captain William "The Sash" Huntington Wilmont-Smythe would be posthumously awarded the Victorian Cross on the recommendation of HH Maharjah Colonel Sir Gupta Varma, GCSI.

Billy the Mule does not look happy.

HH Maharjah Colonel Sir Gupta Varma, GCSI and the civilian driver of Billy make it to Camp Bailey with the news of the horrific disaster.

What went wrong? In my excitement to match wits with Mr. Babbage I completely forget everything I learned as a Colonel of Infantry.

These guys, ON THE HIGH GROUND, were brutal.


Here is what I should have done instead of having one long column advancing down the Valley of Death. The Infantry, with 2 inexperienced leaders, should have been on the flanks clearing, or at least causing problems on the high ground. With the placement table from Mr. Babbage's rules, this could have giving the Indian Army an advantage to keep those @#$&**!!! marksmen from picking off those in the middle. I also should have put Billy the Mule with the Lancers and the TWO MOST EXPERIENCED officers. I completely forgot the At The Double action which would have moved the cavalry and Billy faster. Also the lancers, with the great LV's of their officers, would probably have dealt with any enemy in the valley, especially with the infantry support on the flanks.

So what will happen to the brave defenders of Camp Bailey? Time will tell!


Friday, October 14, 2022

"Get the Ammunition to Camp Bailey!", Part 2

Camp Bailey; somewhere along the Northwest Frontier of the British Raj.

Synopsis: Camp Bailey needs ammunition and detachments from the 10th Bengal Lancers and the 20th (Punjab) Regiment are escorting Billy the Mule with the ammunition. Determined to stop the supplies, and get them for themselves are the Pashtun tribesmen in the hills. The rules are "Skirmish Kings" from The Men Who Would be Kings and I'm playing against that outstanding gamer Mr. Babbage. Having moved about 1/3 of the the way toward Camp Bailey, the column has lost a little over 25% of their forces. And the drums on the high ground are beating . . .

Turn 5.

After seeing the last stand of the 1st Platoon, 20th (Punjabs), HH Maharjah Colonel Sir Gupta Varma, GCSI, (Hero of the Empire) orders the bugles to sound and leads the 2nd Troop of the 10th Bengal Lancers against the tribesmen.


Both sides take losses but the tribesmen flee . . . 

. . . only to be pursued. Both sides are winded and the melee is a draw. The tribesmen are able to withdraw to shelter.


"Safe for now!"

Captain William "The Sash" Huntington Wilmont-Smythe continues to take the lead with a troop of the 10th Bengal Lancers.

Meanwhile, Billy the Mule gets stubborn and will not move. (At least that's the story I'm sticking with - it has nothing to do with a failure of a Leadership test!)

"Boss. Does the cover seem safe?"

"Nope. Let's melt away to fight another day."

More firing from the hills.

Another sepoy is hit and the unit gets pinned.

Turn 6.

Rally!

HH moves to the left flank to shield the ammunition escort from fire.

And they miss HH.

More trouble arrives as the call goes out to converge on the Indian Army.

We have got to get out of this pass!

Captain William "The Sash" Huntington Wilmont-Smythe, noticing the trouble the Billy the Mule was in, turns 1st Troop around to ride to the rescue.

Yikes! More tribesmen? This does not bode well.

The Pass of Death indeed.

A unit of tribesmen advance but are not able to contact the Punjabs.

However, the other unit also advances into contact.

The 2nd Platoon takes another casualty, has to retreat and is pinned again.

The sharpshooters miss again. (Whew).

Turn 7.

Is this the end?

"Always and ever Ready! Charge!"

And that's how you do it as the tribesmen are wiped out to a man and 1st Troop continues the attack against the other group.

Impact!

The tribesman take one casualty, retreat and are pinned. A great turnaround.

The 2nd Platoon rallies (again).

HH moves to the front.


The tribesmen fail to rally and continue to run.

This is a perfect example of why a flanking infantry force to clear the high ground would have been useful.

Dang! This is the pass of death! Two more sepoys down and pinned again.

Turn 8.

"We are getting pretty good with our Rally rolls."

"Be on the lookout."
"Yes your Highness."
"Colonel in the field."
"Yes sir."

"Uh . . . Colonel?"

"Two? This does not look good."

"Captain Sahib. You must take Billy and get him to the Camp."
"Good luck Jemadar."

Turn 9.

"Move out!"

"We must get out of their range . . . oh dang it."


"Let them not say that Gupta Varma was not true to his salt!"

No casualties for either side and thus HH must fall back a 1/2 move.

"Two rupees if you get the officer."

"Close but not quite."

Meanwhile more marksmen take aim . . . 

. . . and a gallant lancer falls.

"Prepare to shoot at the infidels!"

"Never mind. Let's go hide in the rocks. I don't like the way the guy in the green jacket was looking at me."

"We are not afraid of the mighty Green Jacket!"

Next: The Conclusion on the Frontier.