
.JPG)
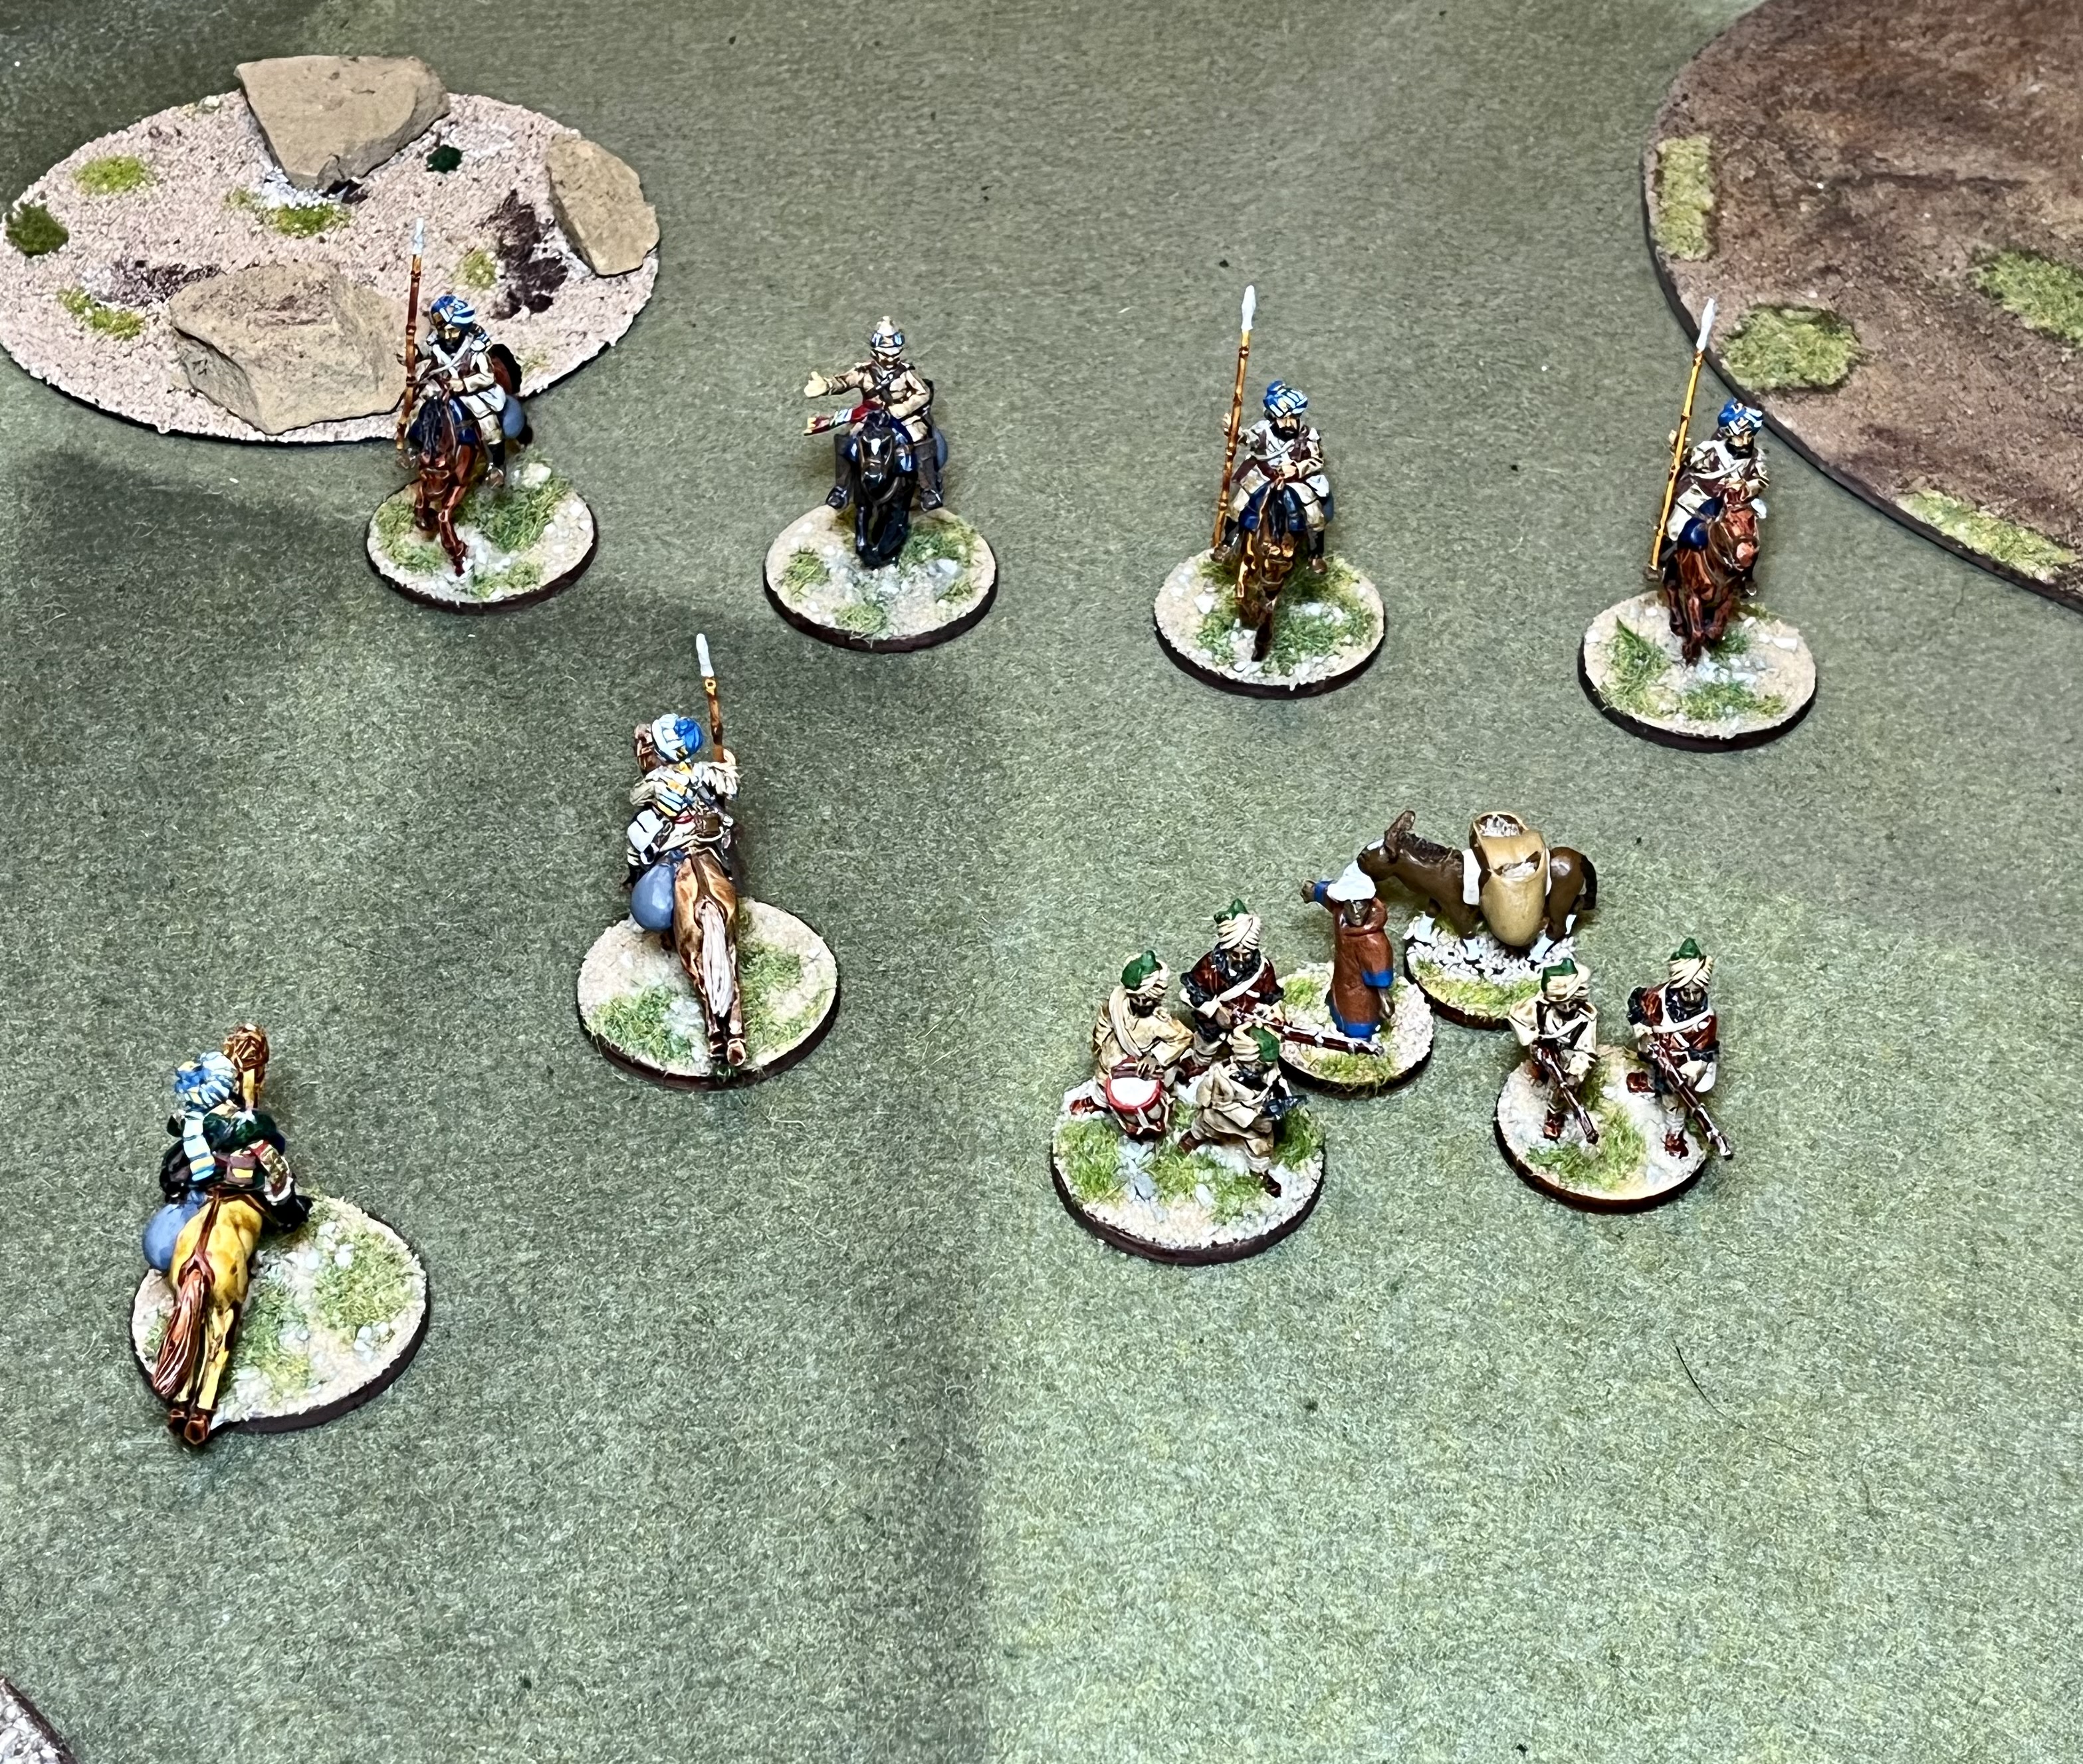
Camp Bailey; somewhere along the Northwest Frontier of the British Raj.
Synopsis: Camp Bailey needs ammunition and detachments from the 10th Bengal Lancers and the 20th (Punjab) Regiment are escorting Billy the Mule with the ammunition. Determined to stop the supplies, and get them for themselves are the Pashtun tribesmen in the hills. The rules are "Skirmish Kings" from The Men Who Would be Kings and I'm playing against that outstanding gamer Mr. Babbage. Having moved about 1/3 of the the way toward Camp Bailey, the column has lost a little over 25% of their forces. And the drums on the high ground are beating . . .

Turn 5.

After seeing the last stand of the 1st Platoon, 20th (Punjabs), HH Maharjah Colonel Sir Gupta Varma, GCSI, (Hero of the Empire) orders the bugles to sound and leads the 2nd Troop of the 10th Bengal Lancers against the tribesmen.


Both sides take losses but the tribesmen flee . . .

. . . only to be pursued. Both sides are winded and the melee is a draw. The tribesmen are able to withdraw to shelter.


"Safe for now!"

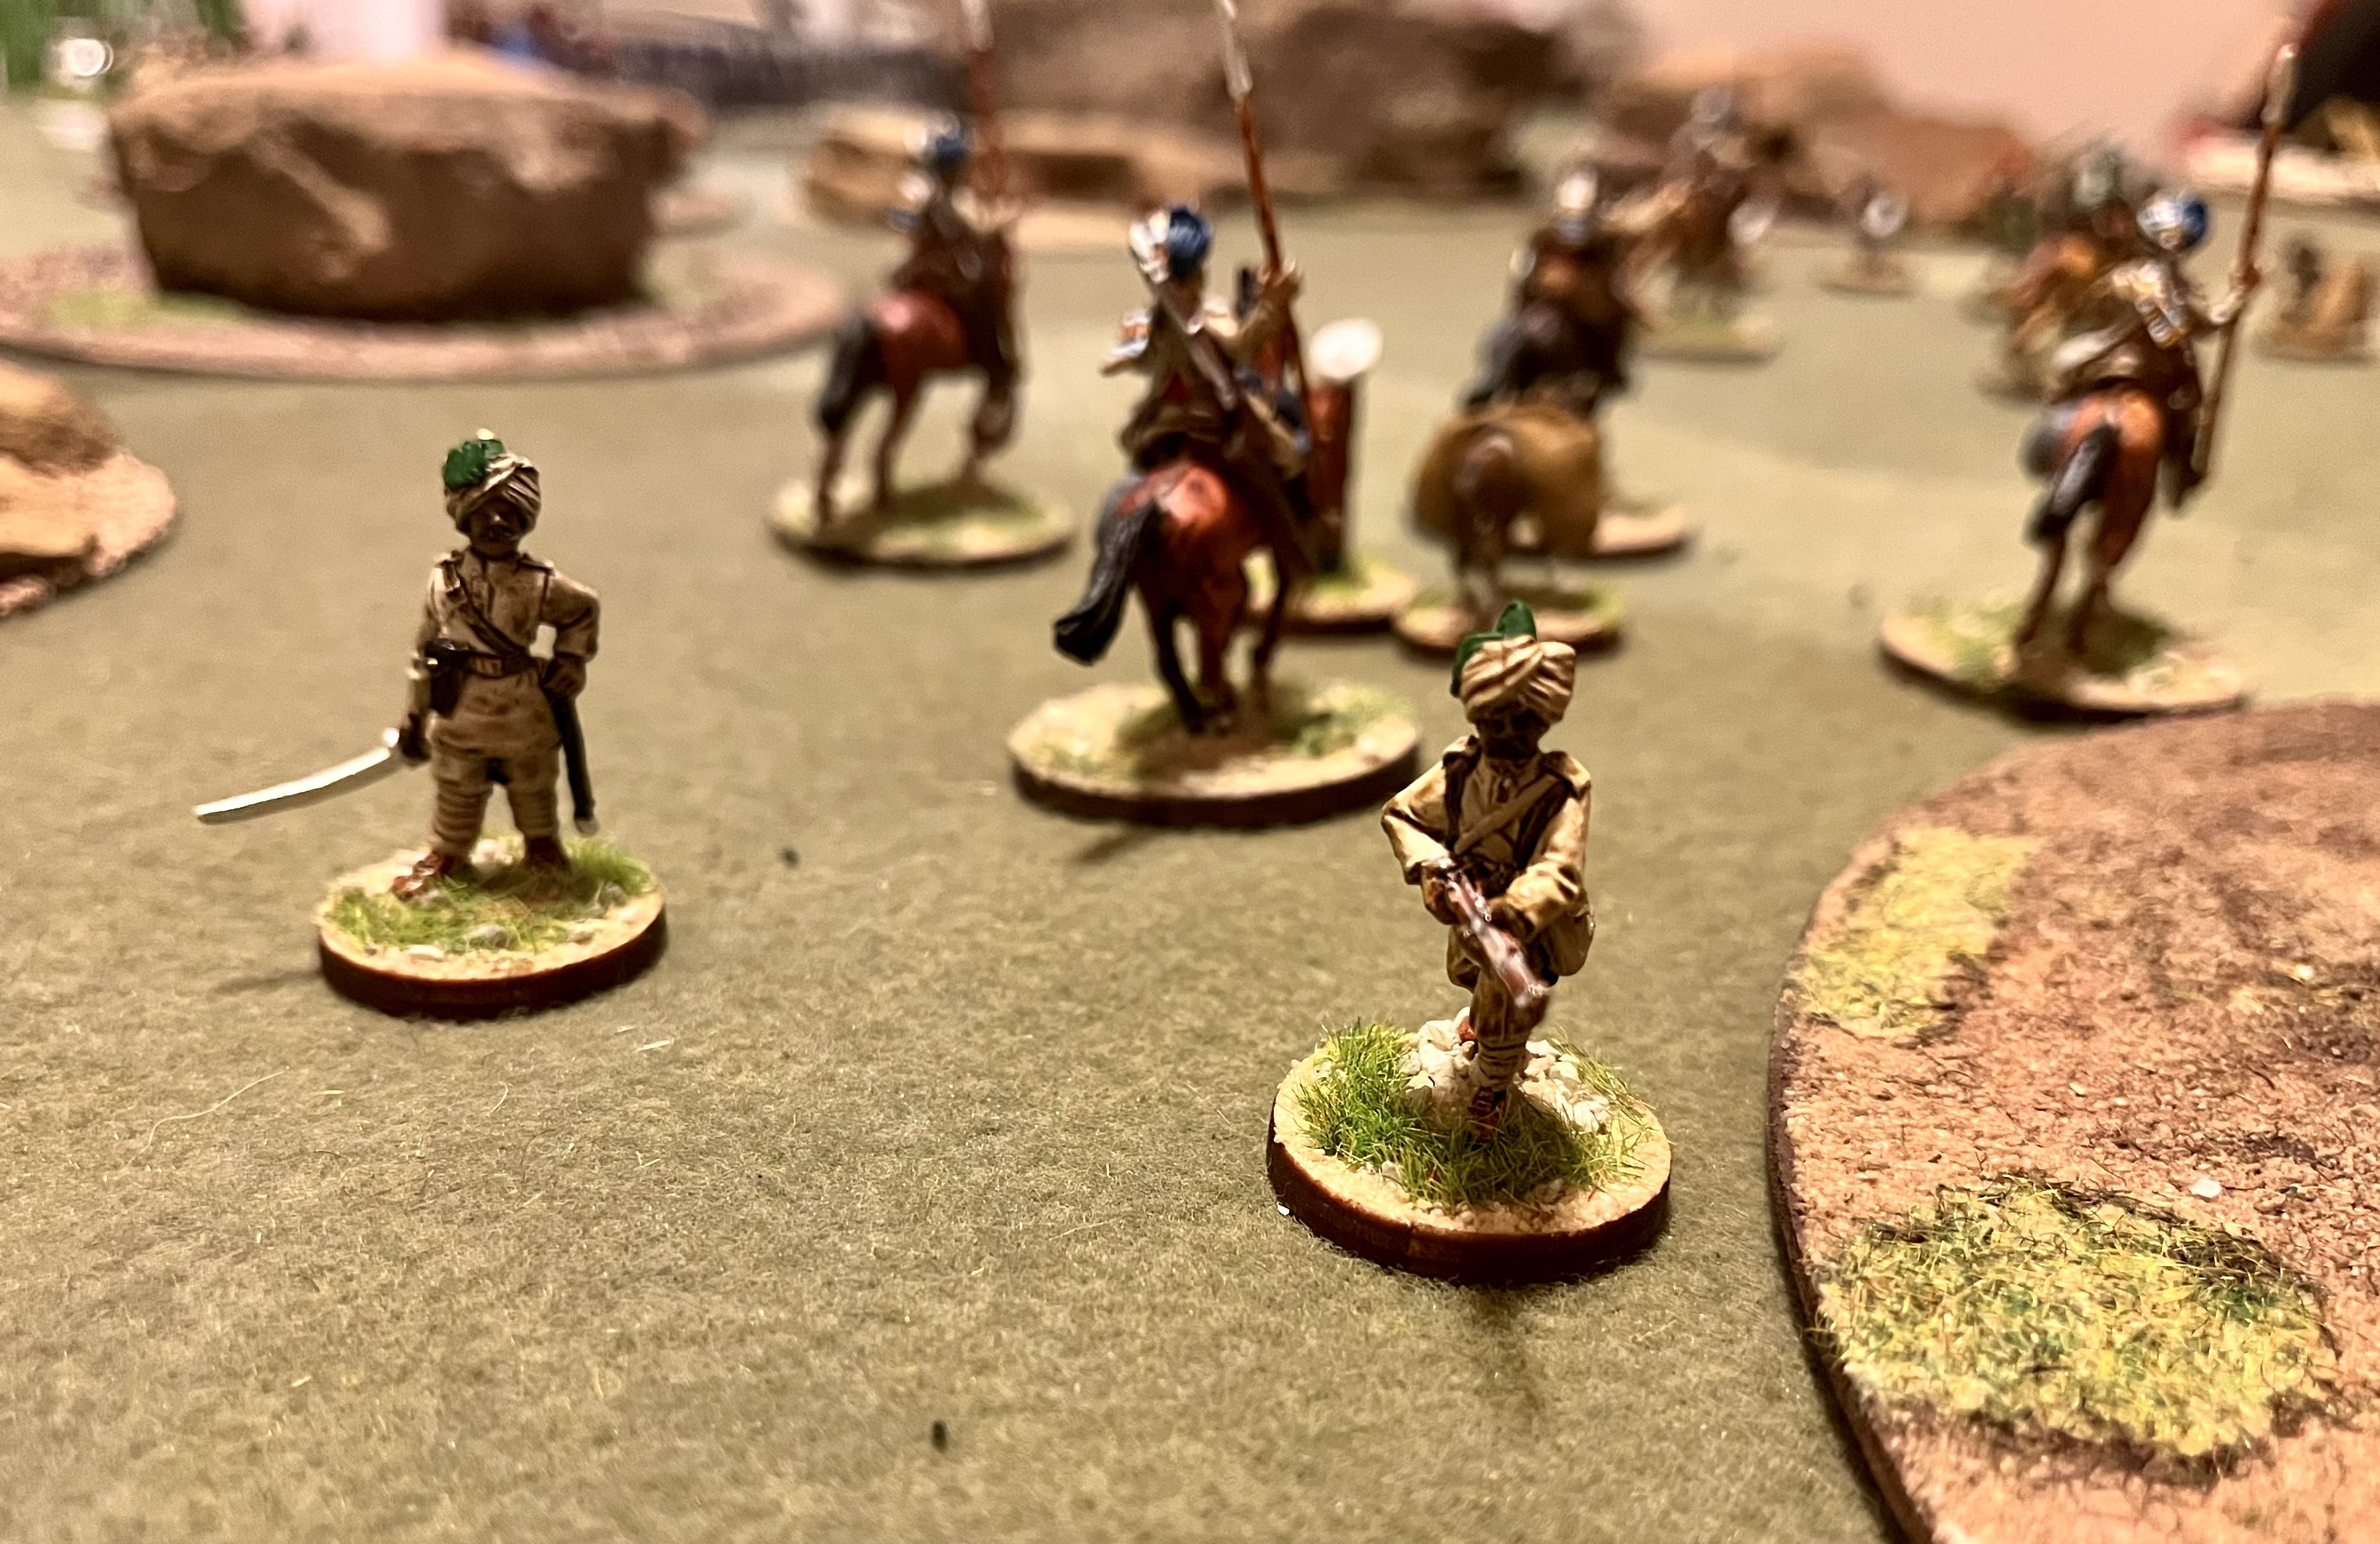
Captain William "The Sash" Huntington Wilmont-Smythe continues to take the lead with a troop of the 10th Bengal Lancers.

Meanwhile, Billy the Mule gets stubborn and will not move. (At least that's the story I'm sticking with - it has nothing to do with a failure of a Leadership test!)


Captain William "The Sash" Huntington Wilmont-Smythe, noticing the trouble the Billy the Mule was in, turns 1st Troop around to ride to the rescue.


The Pass of Death indeed.


Impact!


"We are getting pretty good with our Rally rolls."

"Be on the lookout."
"Yes your Highness."
"Colonel in the field."
"Yes sir."

"Uh . . . Colonel?"

"Two? This does not look good."

"Captain Sahib. You must take Billy and get him to the Camp."
"Good luck Jemadar."

Turn 9.

"Move out!"

"We must get out of their range . . . oh dang it."

 "Let them not say that Gupta Varma was not true to his salt!"
No casualties for either side and thus HH must fall back a 1/2 move.

"Two rupees if you get the officer."

"Close but not quite."

Meanwhile more marksmen take aim . . .
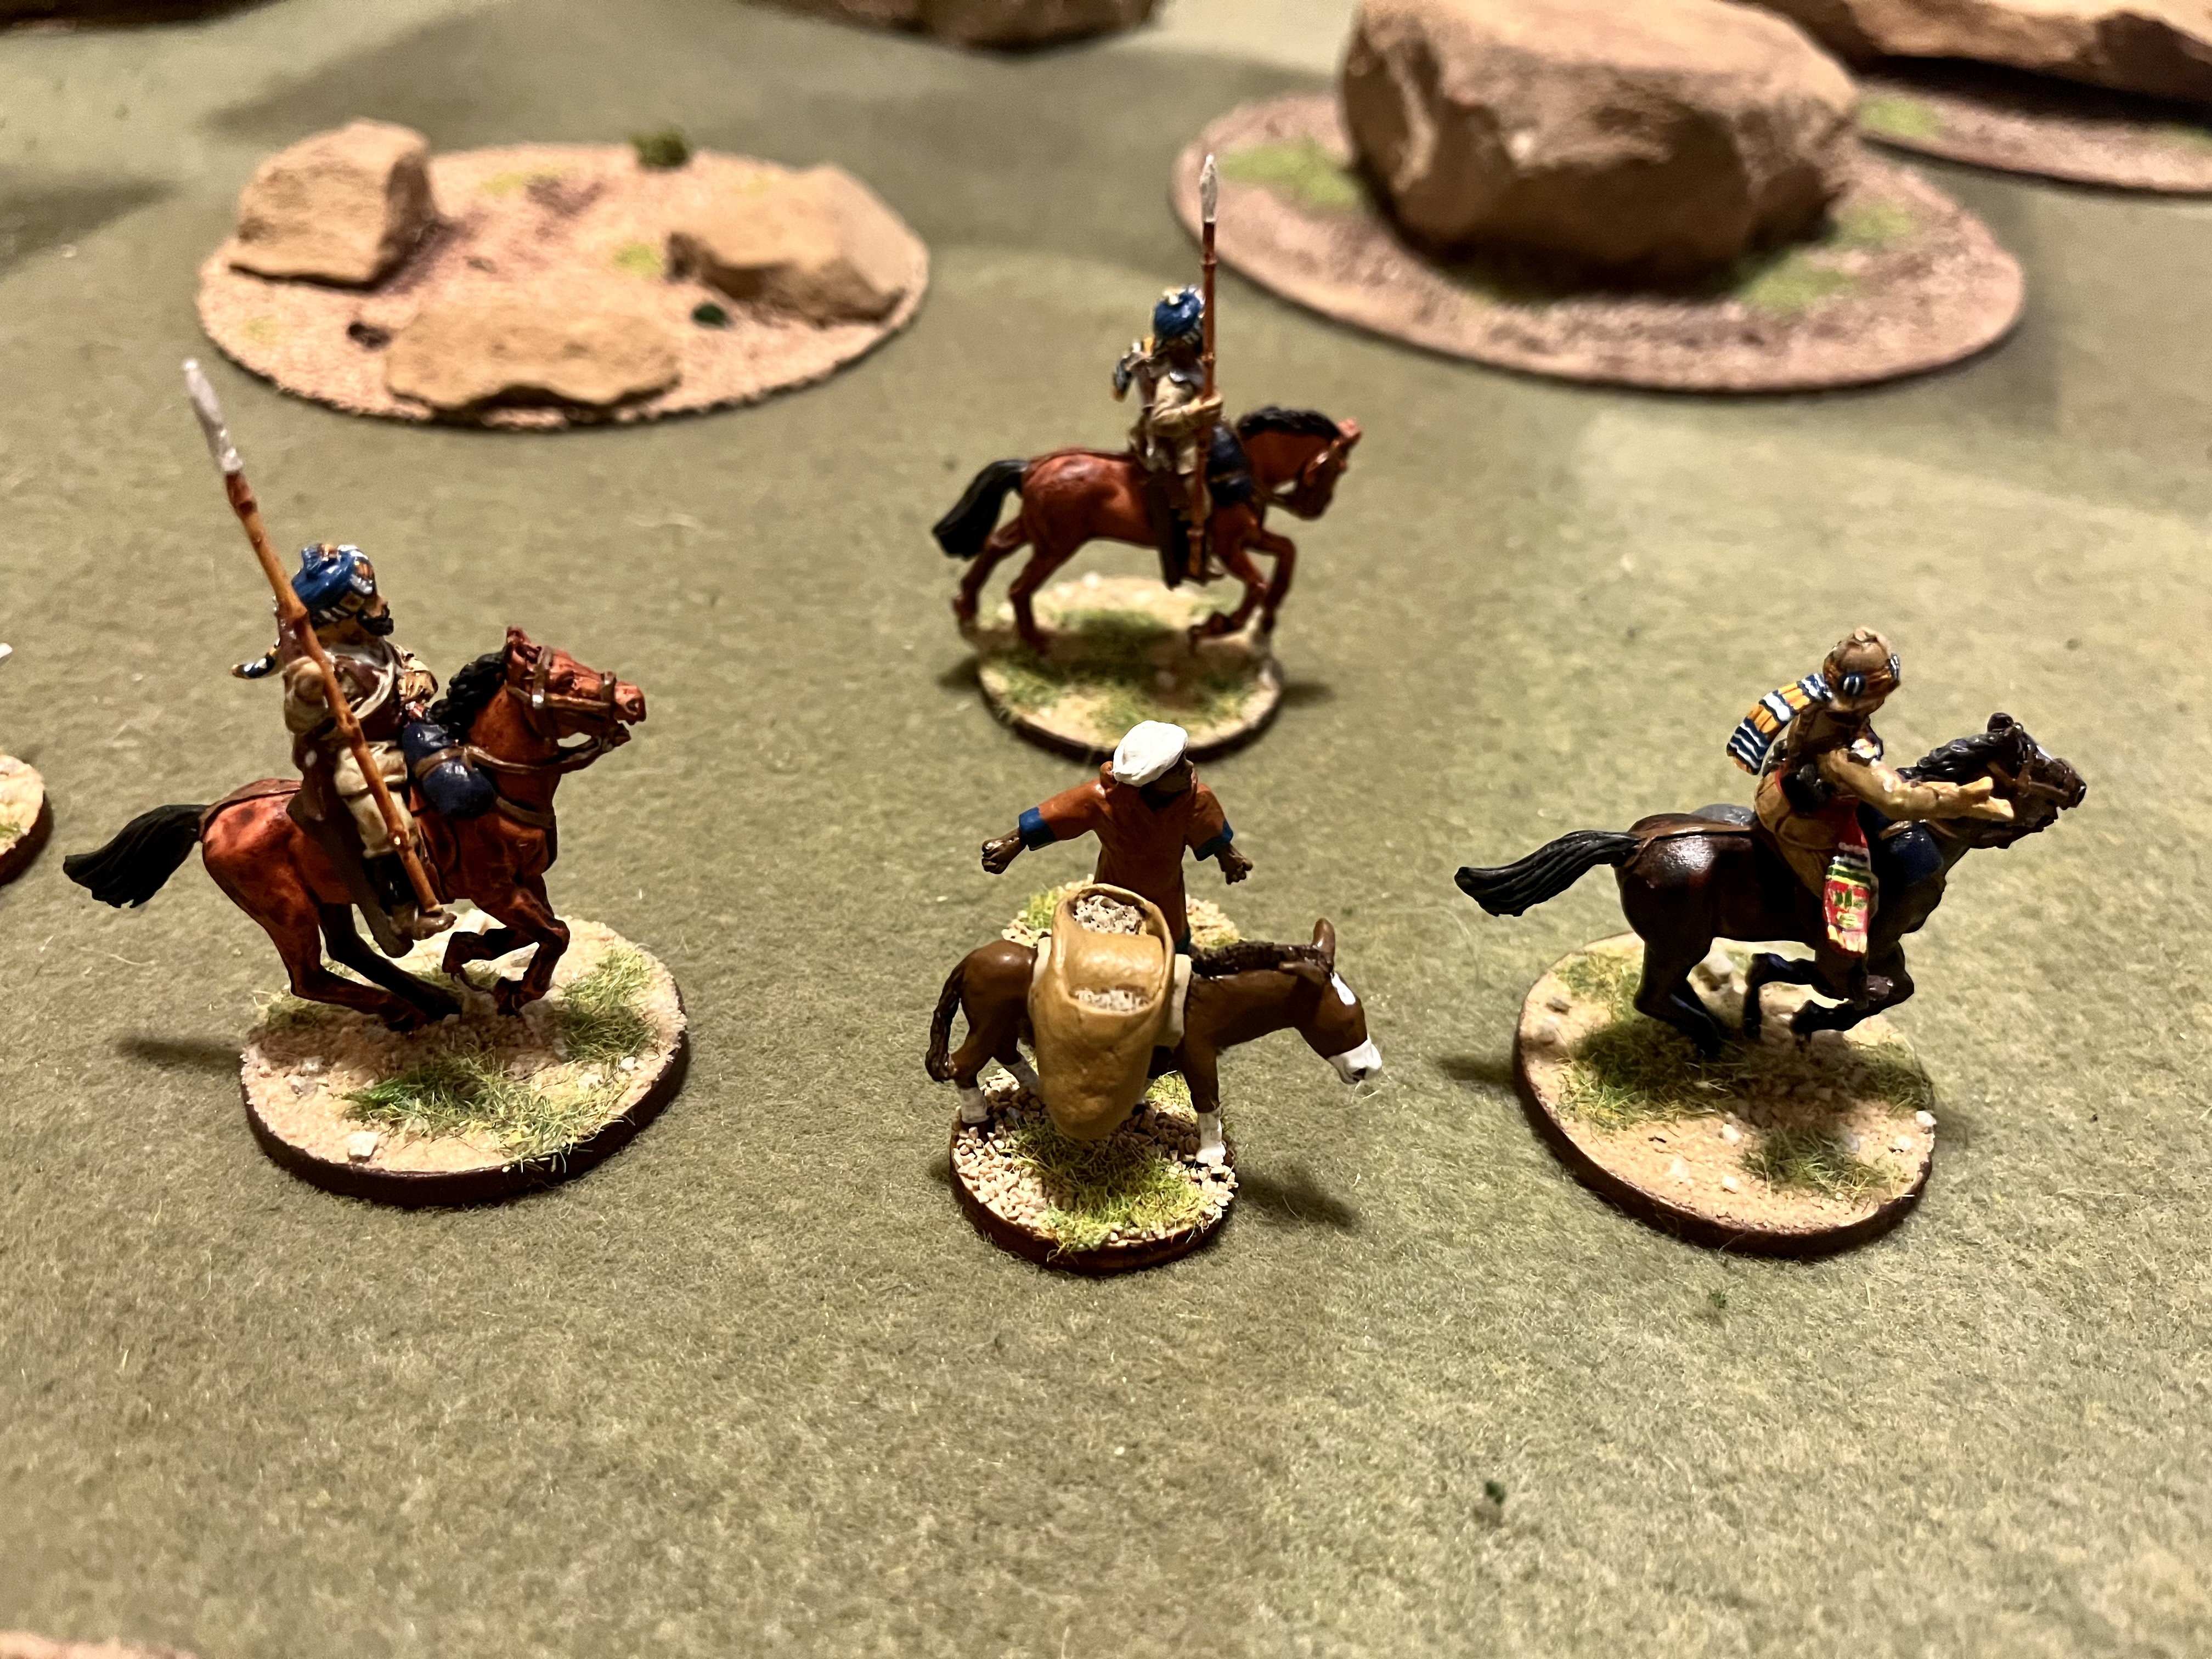
. . . and a gallant lancer falls.

"Prepare to shoot at the infidels!"

"Never mind. Let's go hide in the rocks. I don't like the way the guy in the green jacket was looking at me."

"We are not afraid of the mighty Green Jacket!"
Next: The Conclusion on the Frontier.

No comments:
Post a Comment