

Okay; it’s a Space Marines (Copyright Games Workshop and if you don’t believe me I have some Demonic Chaos Lawyers to send your way). I’m building an armored infantry force of the Terran Federation for the game Xenos Rampant with GW deals I have been finding.


I’m a minimalist when it comes to painting Space Marines. For me, less is better and I don’t want the armor to be a “perfect” paint job! We are not on parade - we are wearing armor that has seen some action. Somehow to me, they look more intimidating.

I’m not sure when, but GW was selling random Blood
Angels that cameone to a box. I scarp this one up for $2 US dollars.

1. I used Citadel Contrast (CC) paints for this figure. When using enamels, you can use a lower quality primer. But for Contrast or Speed Paints, it’s well worth the money to invest in a good quality primer. I use Citadel Wraith Bone.
 |

2. I did the skin using a 50/50 mix of Vallejo Dark Flesh and Mahogany Brown.


3. Next up on the skin is a thin “wash” of CC Darkoath Flesh.


6. The targeting device lense is CC Blood Angels Red and the concrete on the base is CC Space Wolves Grey.


7. The basing material I use for the ground are various grades of model railroad ballast mixed together. I put several globs of white glue on the base, grab an old handy dandy brush and I dip in water and then spread the glue so it’s watered down. I dip it in my “sandbox” container and then let it dry.
The color scheme I used was a base of Vallejo Luftwaffe Uniform WW II and then I dry brush Vallejo Neutral Grey followed by Vallejo Light Grey. After all of that is dry I add some green static grass with watered down white glue.

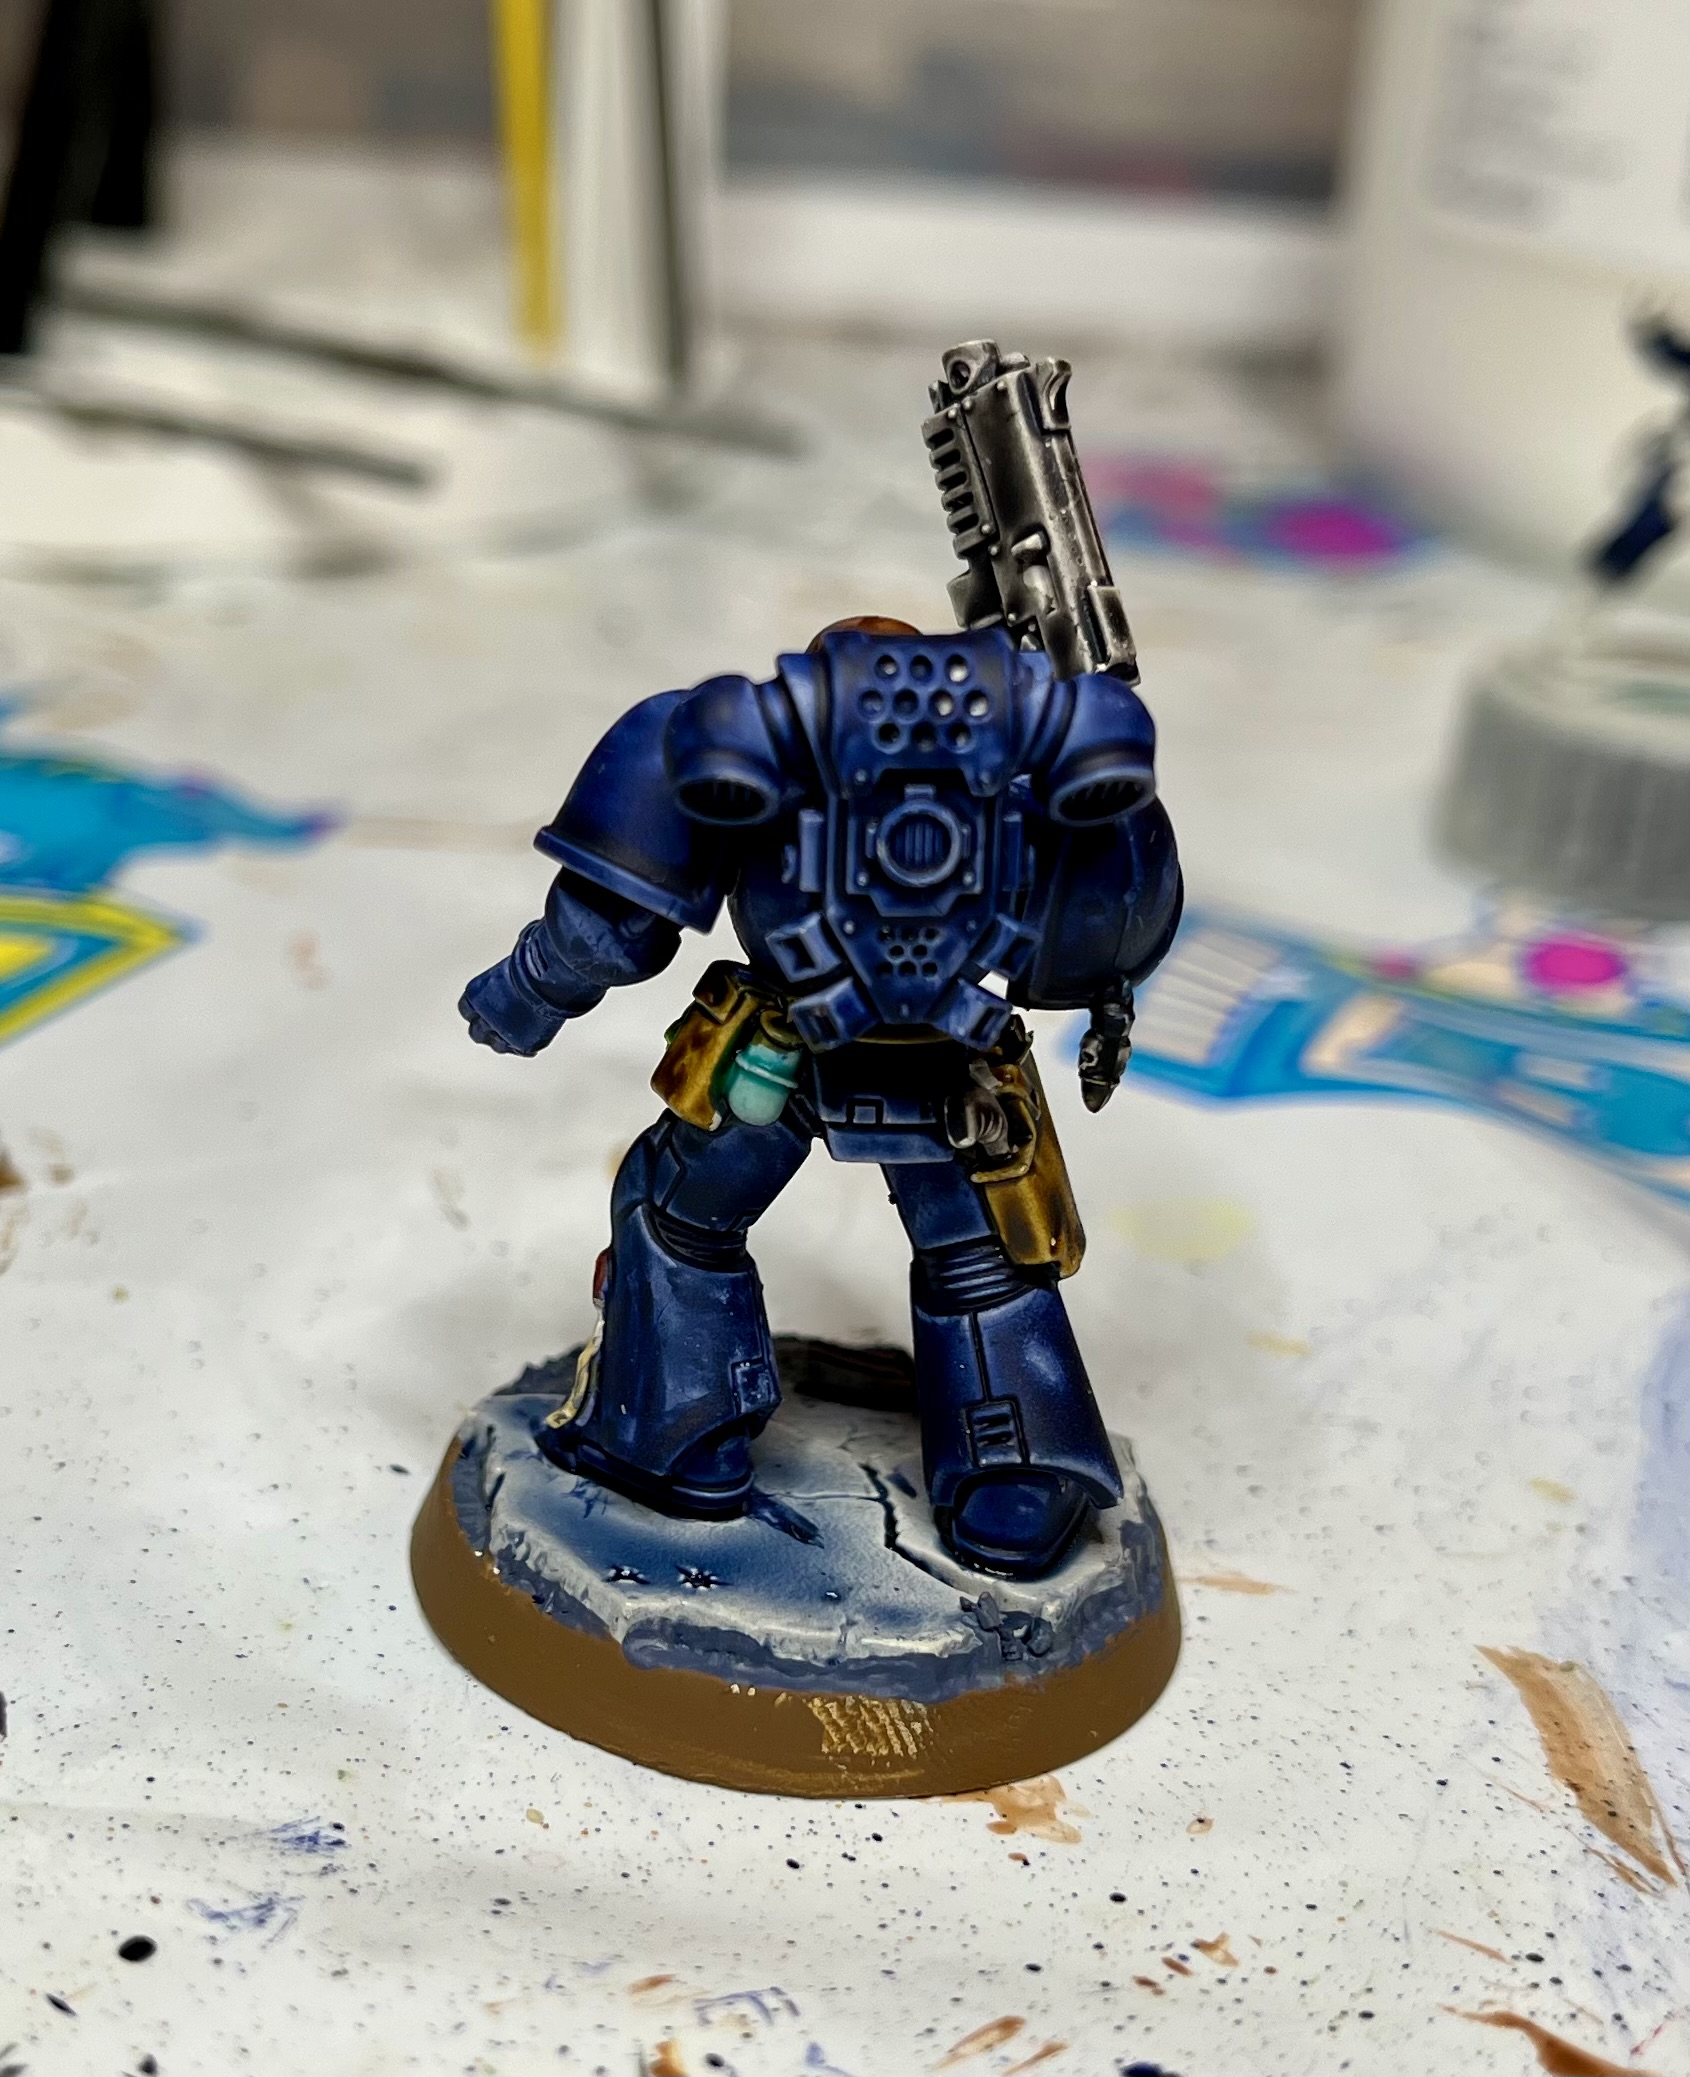


8. Last but not least Contrast paints can be shiny. To protect the paint and tone down the shine, I use a clear matte spray to finish it up.

Ta Dah!
 |

Slowly but surely my Armored Infantry is getting ready for Xenos Rampant.

Nice tutorial Neil and he has turned out really well, good looking miniature.
ReplyDeleteThanks Donnie. I have four more to paint.
DeleteI will be using this for mine and will work on a similar theme for the Plague Marines. Thanks
ReplyDeleteYour Welcome!
DeleteI will be copying this, thanks, and using a similar theme for the Plague Marines.
ReplyDeleteLooking forward to seeing them.
Delete