
The beauty of Dux Bellorum is the use of Leadership Points (LP's) to allocate each turn. This allows you the general to be actively involved in the battle - hey, you are a warlord and your men expect you to lead! Each leader can have between 6 to 10 LP’s depending on how many points you spend on them when constructing your army. For this fight, each leader has 6 LP's to spend each turn. LP’s can be used to help units fight and move, but are a precious resource that can dry once losses occur; if you lose a unit you lose an LP. The use of LP's keeps players thinking – always facing the critical decision about where to spend them. Do I help this unit move? Do I interrupt the enemy's move and charge? Do I declare that the LP's I added to the battle add extra attacks or do I declare that I will use to negate the hits I just took?
The
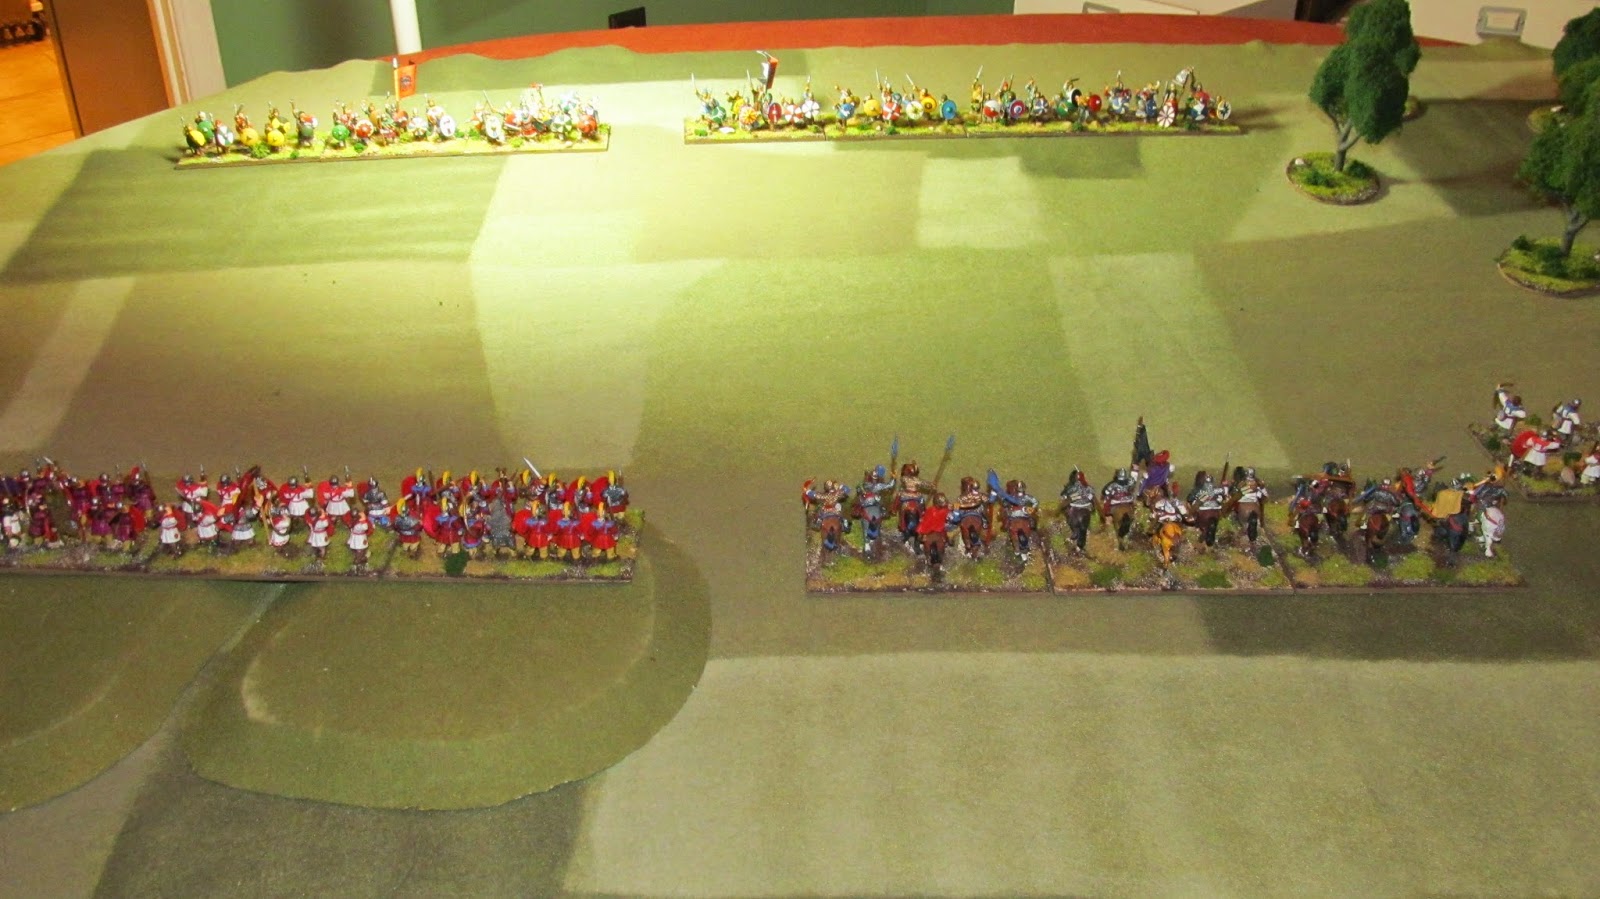
two armies looking from behind the Roman lines. The Roman infantry
(shieldwalls) are on the hill and the cavalry. The Roman skirmishers
are moving to the woods to the right. The Saxons are in 2 groups with
the Noble Warriors intermixed with the Ordinary Warriors.


The Warriors were tougher than I initially thought - yikes!

Allocating the LP's. I just could not get those archers to move!

Charge!!!

Quick
narrative: I tried to smash the Saxon line right from the beginning
with a strong cavalry charge with my "Imposing Horsemen." As a retired
Infantry officer I am ashamed to admit that I tried charging cavalry in a
frontal attack against unbroken infantry.

The situation when I made the fateful decision to charge and before LP's were allocated.

They don't look so tough from here.

Come on and show us what ya got!


The die behind the stands are keeping track of the hits.

Both
my Companions and my Noble horse took some serious hits as the Saxon
Noble Warriors laughed. I had to buy some time to recover; fortunately
my cavalry successfully disengaged.
I
turns out that the heroes of the game for the Late Romans would be the
javelin armed skirmishers and the Poor Bloody Infantry of my shieldwall
on the hill. The javelin armed skirmishes successfully drew off one of
the Warrior units into the woods. The javelins could get up close,
shoot and then move successfully keeping out of range. By themselves
they wore down and eventually destroyed the Warrior unit reducing the
Saxons by 1 LP.


I
added an LP to give the javelins and extra attack and whamo - the
Saxons take 2 hits with no saves. Then the javelins fall back to get
out of the vengeful charge range of the Saxons!

I
had trouble moving my archers (kept failing their bravery roll). As it
turned out that worked to my advantage as the javelins fell back, the
Saxons pursuing them got outflanked by the archers and destroyed by both
stands or skirmishers.

Oh . . . there's a battle going on? We've just been standing here for 3 turns.

Come closer . . . I'll backup . . . closer . . . closer . . .

Gotcha!
My
mounted skirmishers tried to do the same thing on my left flank to slow
down the warriors advancing on my infantry on the hill. Well . . .
that did not work out so well and they were made into mincemeat fairly
quickly and now I was down an LP.


With
the Roman cavalry reeling and weakened, the Saxons launched a massive
attack to break the Roman line. On the left the Warrior unit is about
to be peppered by the skirmishers but the Roman line on the hill starts
to fall back . . .


Next: The conclusion.

Looks great, lovely colorful armies...
ReplyDeleteThanks Phil. It was a great game.
Delete