

As a gamer on a budget (who isn't?) I like to save money with my hobby whenever I can. This year I have really been focusing on making terrain for my tabletop as my two new periods are the British Raj and the French and Indian War. Coincidentally, the rules I am using are both from the talented Dan Mersey, The Men Who Would be Kings, and Rebels and Patriots from Osprey Games. Since both rulesets are "large" skirmish games, terrain plays and important part. In addition, one of the major of appeals for me in miniature wargaming is the aesthetics of the table top. So lets make some more rocky terrain to break up formations and to hide behind for excellent cover.

First step for me is to find some real rocks! One of my past times (and how I get my exercise) is walking in the woods of the Southern United States. When I was working this project, over a period of days, I found some interesting rocks to use. I know what some of you are thinking: "Aren't that heavy and require storage space?" Well, they are really not that heavy, and now that my children are grown, I have plenty of storage space.


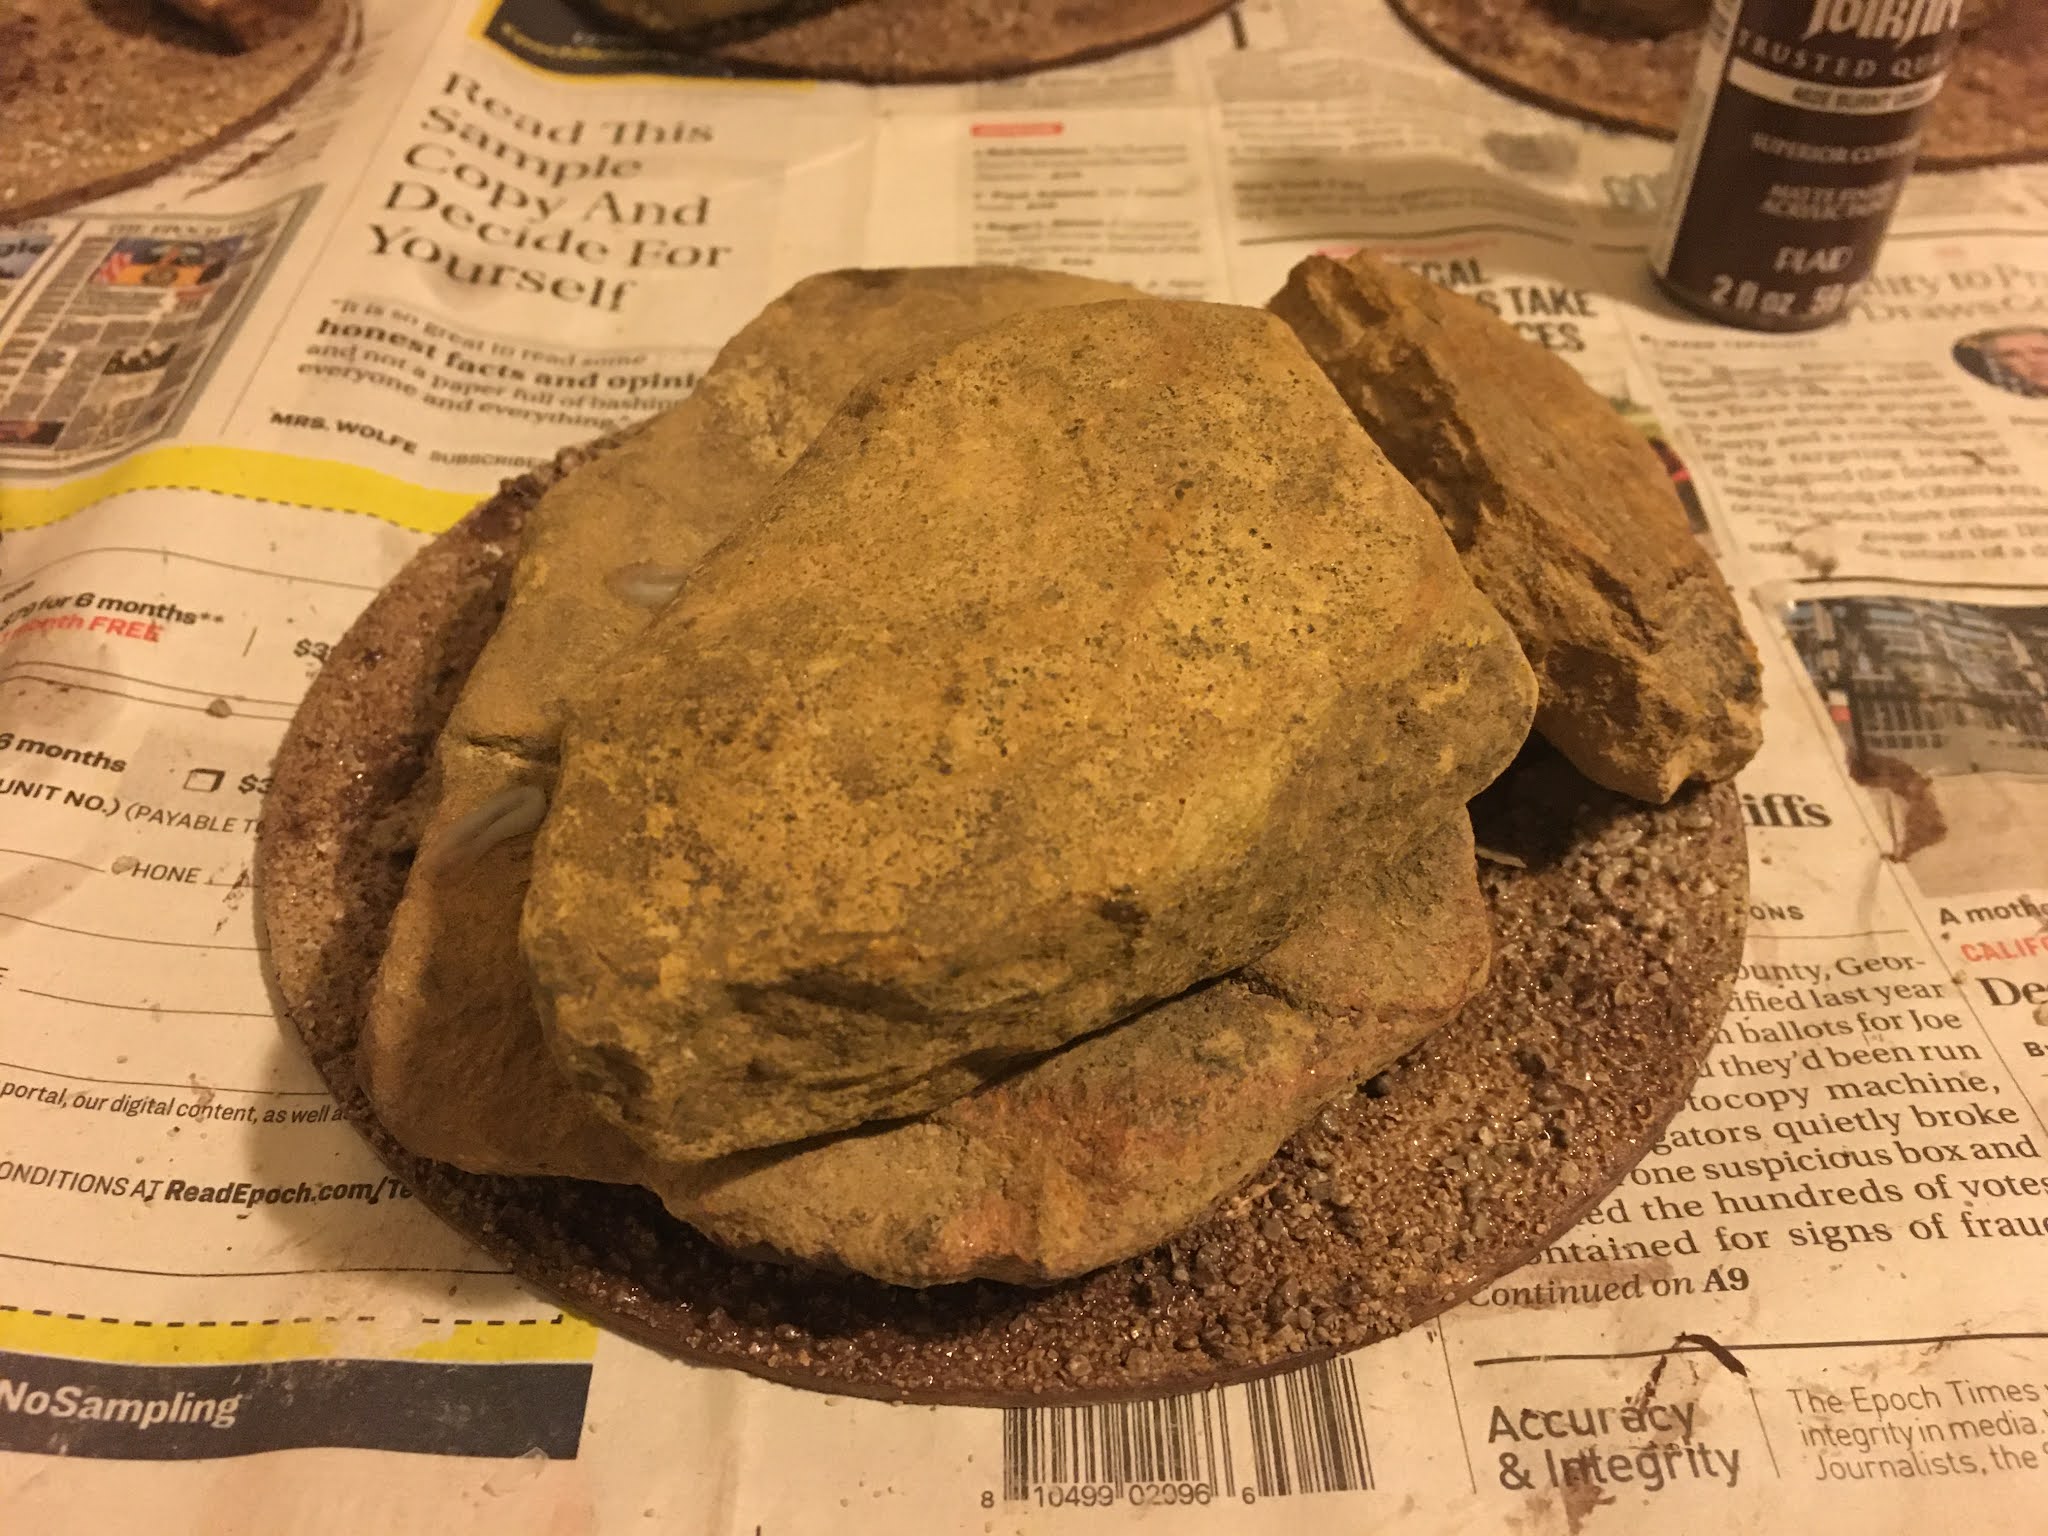
The rocks are glued in place and left to dry overnight. You may notice that four of the bases have painted brown borders and two of them don't. Yep, I started applying glue and rocks and suddenly realized that I forgotten to paint the edges after I did two. I highly recommend painting the edges first! It can be challenging (yes it can) painting them with the rocks already on the bases. The base edges were painted with inexpensive (US $2.99) Burnt Umber craft paint.

I use Railroad hobby ballast for my basing needs as it is less expensive than buying hobby sand that is marketed for miniature gaming. I use gobs of glue and water it down to affix the sand. Since these bases are considerably larger than my figure stands, I used a large plastic container to put the sand in so I could easily dip the bases into the sand. Don't worry if you miss a few spots - that can easily be filled in with static grass. Make sure the sand is fully dry before moving onto the next step.


Save those old, worn out brushes for jobs like this.

Remember that Burnt Umber craft paint. Once the coating of watered down glue is dry, I water down the Burnt Umber and spread it over the sand to let it seep in. I've gotten lazy highlighting my terrain and this is a quick, and I think looks good, alternative.

After the paint dries, I randomly put some white glue on the bases and water it down with that same old brush. Then I add some static grass and let it dry.


I added static grass on this rock as there was some white glue that spilled on the rock, dried and was noticeable. The stain around the grass is just watered down glue drying.


Ta Dah! All done. I'm am by no means a modeling expert and I find this technique quick and easy to do. I failed to mention that I used photographic references of the areas I'm gaming to help me with the positioning and modeling of the terrain.


As you can see, the rocky terrain works for a multiple of genres. One last look at some of the rocky terrain I have built this year.


Lovely rocky terrain, perfect for your future adventures!
ReplyDeleteThanks Phil.
DeleteNeil
Very nice!
ReplyDeleteDoug,
DeleteThanks - and fun to make.
Neil
A nice cheap way to create your own terrain. A wargaming friend who has previously been professional model maker always says using "real" stuff - garden twigs and bits of bushes for trees etc - is a great idea for producing realistic looking terrain - so he would be a fan of your use of real rocks!
ReplyDeleteI have a draw of natural terrain; some has worked and some hasn’t. But it’s free!
DeleteNeil
These look beaut. I find it amazing that people buy such things when rocks or stones (depending on scale) and twigs or sticks make for such good rocks and trees/trunks on the tabletop.
ReplyDeleteRegards, James
James,
DeleteI agree; though I was one of those guys until I found out how easy it was to make. Also, why by “official terrain” when the model railroad stuff is so much cheaper. And don’t get me started on primer!
Neil
Excellent and inspiring work!
ReplyDeleteThanks Ty!
DeleteNeil