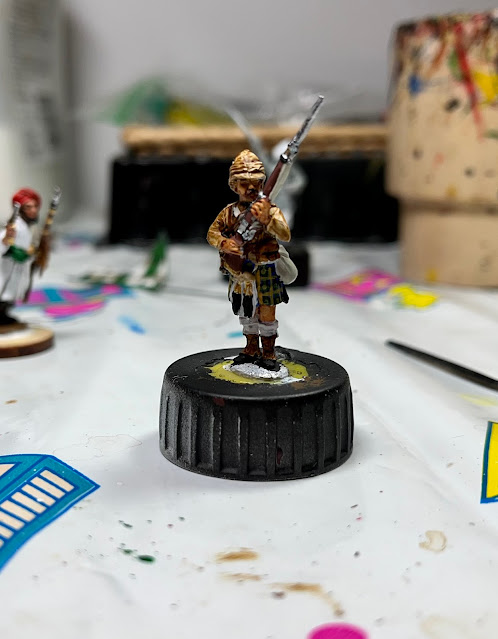
Whenever I paint a new unit or start a new period that may be a bit daunting, I like to paint a test figure or figures to try out the paint schemes. This time I only had to use one figure! The next unit I'm painting for The Men Who Would be Kings is the 1st Battalion, Gordon Highlanders using the following figure packs from Perry Miniatures: SB 26 Gordon/Cameron Highlander Command and SB 27 Gordon/Cameron Highlanders, standing high port from their metal Sudan Range.
So let's paint a kilt! Remember when painting a kilt, unless you want to go insane, is that it needs to look good from a gaming distance. If you are like me and have difficulty painting a straight line, don't worry about it! It does not have to be perfect to look good on the gaming table. There are folds and pleats and the wind blowing - plus I don't let anyone game with a magnifying glass.
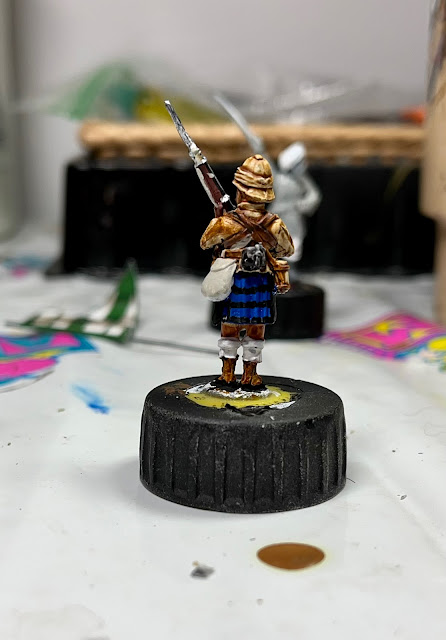
I always paint the tartan pattern last. We all make mistakes when painting, and it would be a shame to accidentally put a blot of paint on the best tartan you ever painted. In Part 1 of this painting guide, I painted the base color of the kilt Vallejo Dark Blue. In real life it should be darker, but lighter colors look better at gaming distance.
1. Dark Blue base. As I mentioned, I used Vallejo Dark Blue.
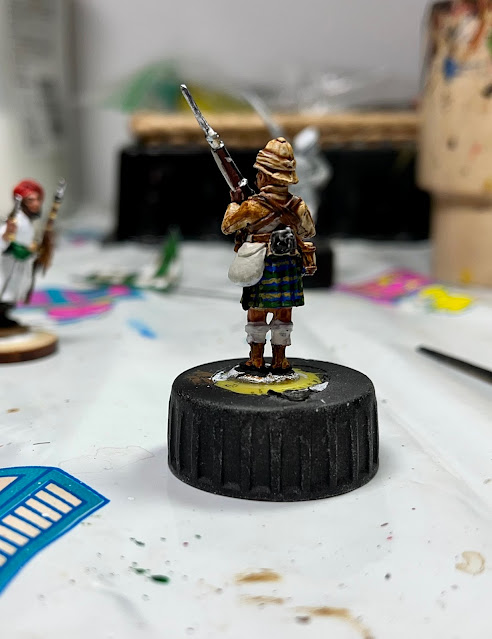
3. Horizontal lines all the way around the kilt. With the Perry figures I thought 3 looked good and I added an extra at the top in the back.
4. Paint a dark green inside the black lines. I used Vallejo Flat Green which is not too dark.
5. Dab a light green "square" where the green intersects. At this scale the square does not have to be perfect. I used (trumpet fanfare) Folk Art Moss Green because that's what I had. Actually, for a lot of small details, I use craft paints as an inexpensive alternative to hobby paints.
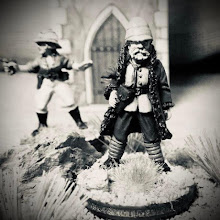
Do a little cleanup and use your favorite basing technique and a devil in skirt is ready to take on all comers.








No comments:
Post a Comment